They may be small, but microsurgical instruments are just as important as other instruments in the critical mission Sterile Processing teams have to provide safe, sterile supplies to the Operating Room, on time, every time. In this 23-part educational series, we will be highlighting key concepts and best practices for tackling the reprocessing of these tiny tools used for healing in hospitals, ambulatory surgery centers, and clinics around the country and across the globe.
From definitions to decontamination, from pre-cleaning to preventing errors, we encourage you dig into this important series and gain perspective on industry reprocessing that will be applicable even outside of the microsurgical setting. What are the big risks associated with TASS and eye instrumentation? How should you approach the transportation of these delicate tools? And how can you work to create a culture of safety right where you are? We look forward to sparking a conversation with you about microsurgical instruments, and the critical responsibility we have to “Handle with Care.”

What is a Microsurgical Instrument?
Microsurgical instruments are specialized tools that are used in microsurgery, a type of surgery that involves the use of microscopes to perform procedures at a microscopic level. Microsurgery is typically used to repair or reconstruct small structures, such as blood vessels, nerves, and tendons, and can be performed on a variety of body parts, including the brain, eyes, ears, nose, and throat.
Microsurgical instruments are designed to be extremely precise and delicate, as they are used to work on structures that are too small to be seen with the naked eye. These instruments often have very fine tips and are utilized by the surgeon while using a microscope or other magnifying device.
Some examples of microsurgical instruments include:
aspiration handpieces, Westcott curved tenotomy scissors, diamond knives, Barraquer Needle Holder, and Castroviejo suturing forceps, but there are many more.
Microsurgical instruments are essential for performing microsurgery and are used by surgeons to make incisions, suture wounds, and manipulate tissues. They are typically made from high-quality materials, such as stainless steel or titanium, to ensure their durability and precision. In addition, many microsurgical instruments are coated with a special coating to reduce the risk of tissue damage and to make them easier to clean.
This being said, as with all surgical instruments, proper reprocessing is critical to ensure microsurgical procedures are safe for our patients. With their smaller size, this poses unique challenges for these instruments in particular.
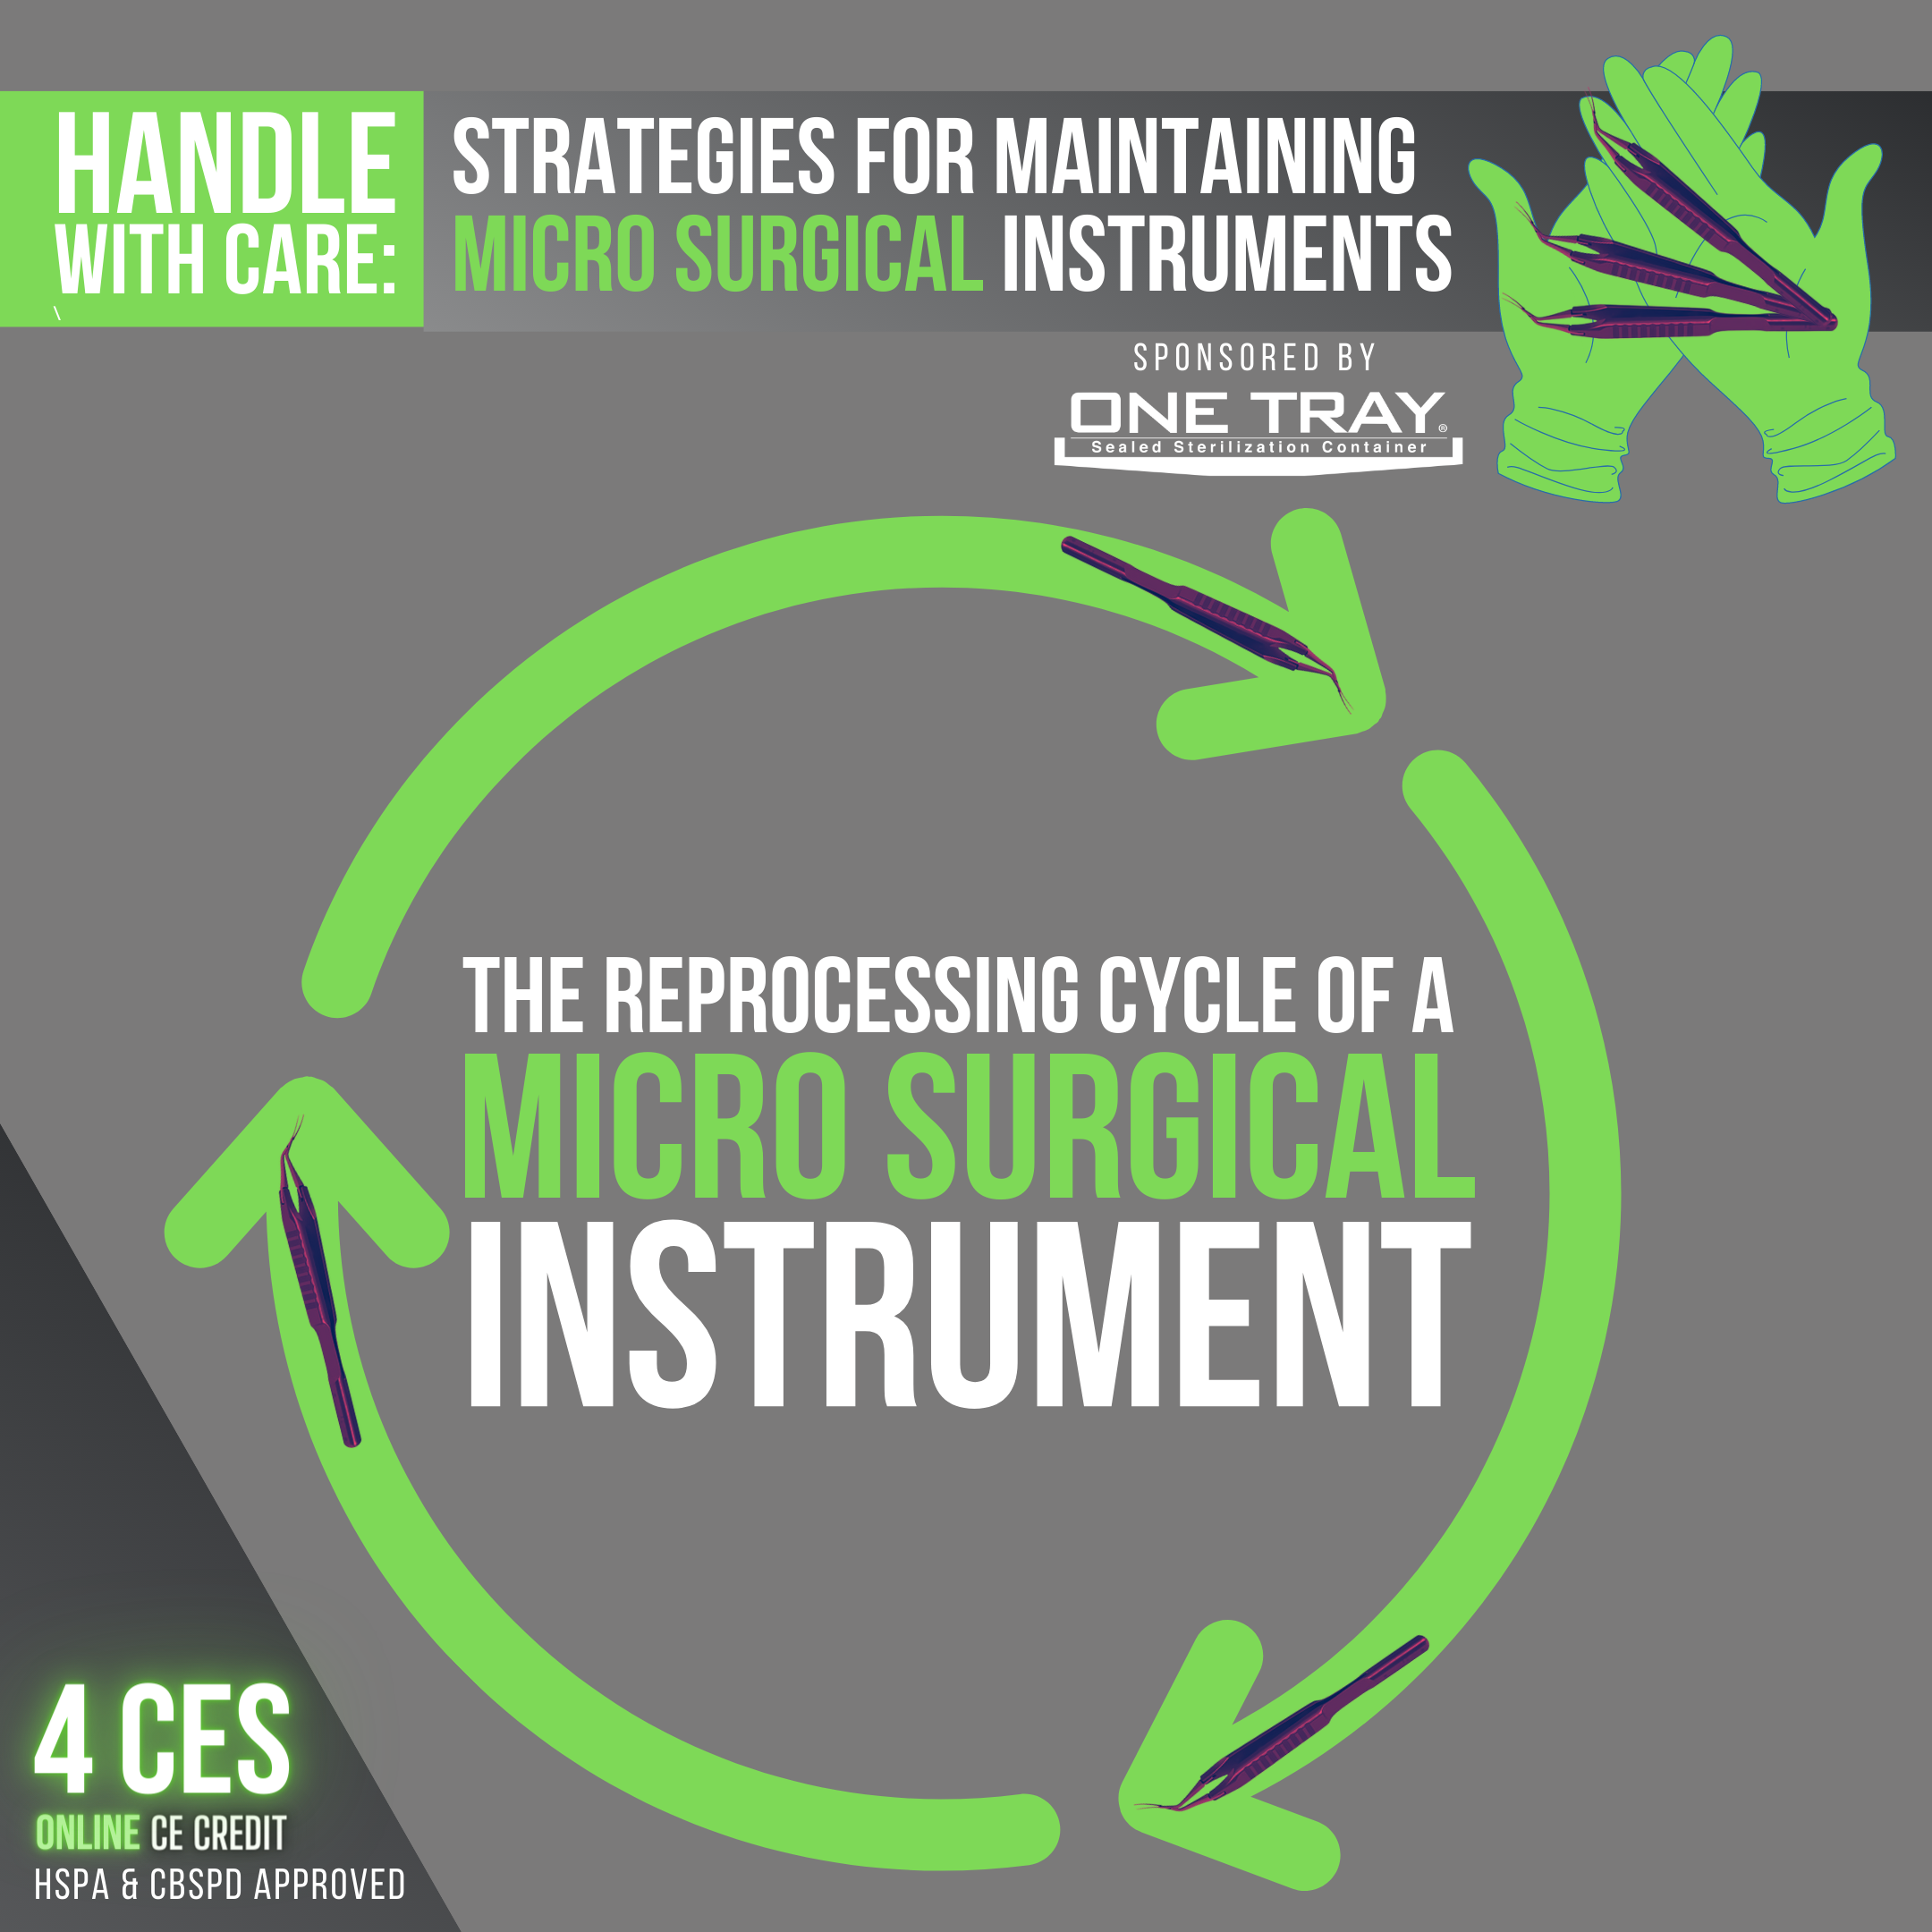
The Reprocessing Cycle of a Microsurgical Instrument
At a high level, the reprocessing cycle of a microsurgical instrument follows the same process as any other critical medical device, including stages such as: Pre-Cleaning, Decontamination, Inspection, Packaging, Sterilization, and Storage.
However, due to the small size and sometimes complex design of microsurgical instruments, breaking the chain of infection can pose greater challenges for frontline reprocessing professionals. For those unfamiliar with the “chain of infection” concept, it is simply the sequence of events that must occur for an infection to be transmitted from one person to another.
In the context of surgical instrument reprocessing, the chain of infection can be broken down into six main steps:
1) The source of the infection: This can be a patient who is already infected with a pathogen, or it can be a healthcare worker who is carrying an infection.
2) The mode of transmission: This refers to the way in which the infection is transmitted from the source to the next step in the chain. In the case of surgical instruments, the mode of transmission is typically direct contact with contaminated instruments.
3) The susceptible host: This is the person who is at risk of acquiring the infection. In the case of surgical instrument reprocessing, the susceptible host is typically the patient who will be treated with the reprocessed instruments.
4) The portal of entry: This is the way in which the infection enters the susceptible host. In the case of surgical instruments, the portal of entry is typically through a wound or incision that is created during surgery.
5) The reservoir: This is a place where the infection can survive and potentially infect other people. In the case of surgical instrument reprocessing, the reservoir can be the contaminated instruments themselves, or it can be a surface or equipment that has come into contact with the contaminated instruments.
6) The means of exit: This is the way in which the infection leaves the reservoir and is transmitted to the next person in the chain. In the case of surgical instrument reprocessing, the means of exit is typically through direct contact with the contaminated instruments.
To break the chain of infection in surgical instrument reprocessing, it is important to properly clean, disinfect, and sterilize the instruments before they are used on another patient. This helps to eliminate any pathogens that may be present on the instruments and reduces the risk of infection.
Common concepts used to “break” this chain include a one-way workflow in reprocessing which takes instruments from dirty–> to clean –> to sterile, and targeted processes to limit the opportunity for cross-contamination, such as physical barriers and proper PPE while processing.

The Big Deal with a Little Pre-Cleaning of Micro Surgical Instruments
Industry guidelines such as AAMI ST79:2017, “ANSI/AAMI ST79:2017 Comprehensive guide to steam sterilization and sterility assurance in health care facilities” give particular guidance for the pre-cleaning of intraocular surgical micro surgical instruments, which is instructive for most micro surgical instruments in general.
In appendix M.2.2.4 Precleaning, AAMI ST79:2017 reads, “Instruments should be precleaned immediately following use. Gross debris should be removed, and instrument lumens should be flushed with sterile distilled water or another suitable agent as recommended by the manufacturer. The instruments should be maintained in a moist state before cleaning in order to prevent the drying of surgical debris onto or within them. In particular, [ophthalmic viscoelastic devices, known as] OVDs can dry onto instruments very quickly following use and resist removal during subsequent cleaning.”
To summarize this recommendation, micro surgical instruments should have gross debris removed and/or wiped off at the point of use, lumens should be flushed with sterile distilled water, and the instruments maintained in a moist environment before cleaning to prevent the drying of soils.
These steps are basic best practice for all variations of surgical instruments, but when not executed for micro surgical devices, reprocessing technicians can be faced with very difficult bioburden and soil to both find & remove at the micro-level. Soil is always easiest to remove BEFORE it dries, which is why all industry groups put so much emphasis on this being the first, and perhaps even most important step in the reprocessing workflow.

Making the Trip: Transportation Insights & Tips for Micro Surgical Instruments
Anyone who has ever delicately placed a pair of Vannas scissors in a micro surgical tray knows the fear & trepidation with closing the lid on the container and hoping they make their journey through sterilization, storage, and distribution in one piece. Micro surgical instruments are small and delicate by design, which is perfect for the types of procedures the support, but can cause heartburn for the reprocessing team responsible for keeping them safe in transport.
So how can you give these tiny tools the best opportunity they have to be safe from your department to surgery and back again? Here are a few tips to keep in mind:
* Since micro surgical instruments will be coming back to your department after use, ensure that you have containers and tray configurations that make it as easy as possible for OR team members to properly preclean, moisten, and safely return the instrument to the tray.
* A common area of opportunity is adequate space within a tray to separate the devices from one another, and from the edge of the internal basket. One of the most common points of damage is when tips poke through an internal wire basket to become bent or broken.
* Whether your OR team is using a gel, spray, or foam precleaning chemical, ensure that every staff member is familiar with the chemical instruction for use (IFU) and regularly audit this at the point of use as well as when the instruments arrive after transport to decontamination.
* Finally, as alluded to above, ensure all instruments are replaced & reset back into their original container in a manner in which the rolling, bumps, and vibrations of transport will not cause them to shift into one another or the side of the basket to potential become damaged.
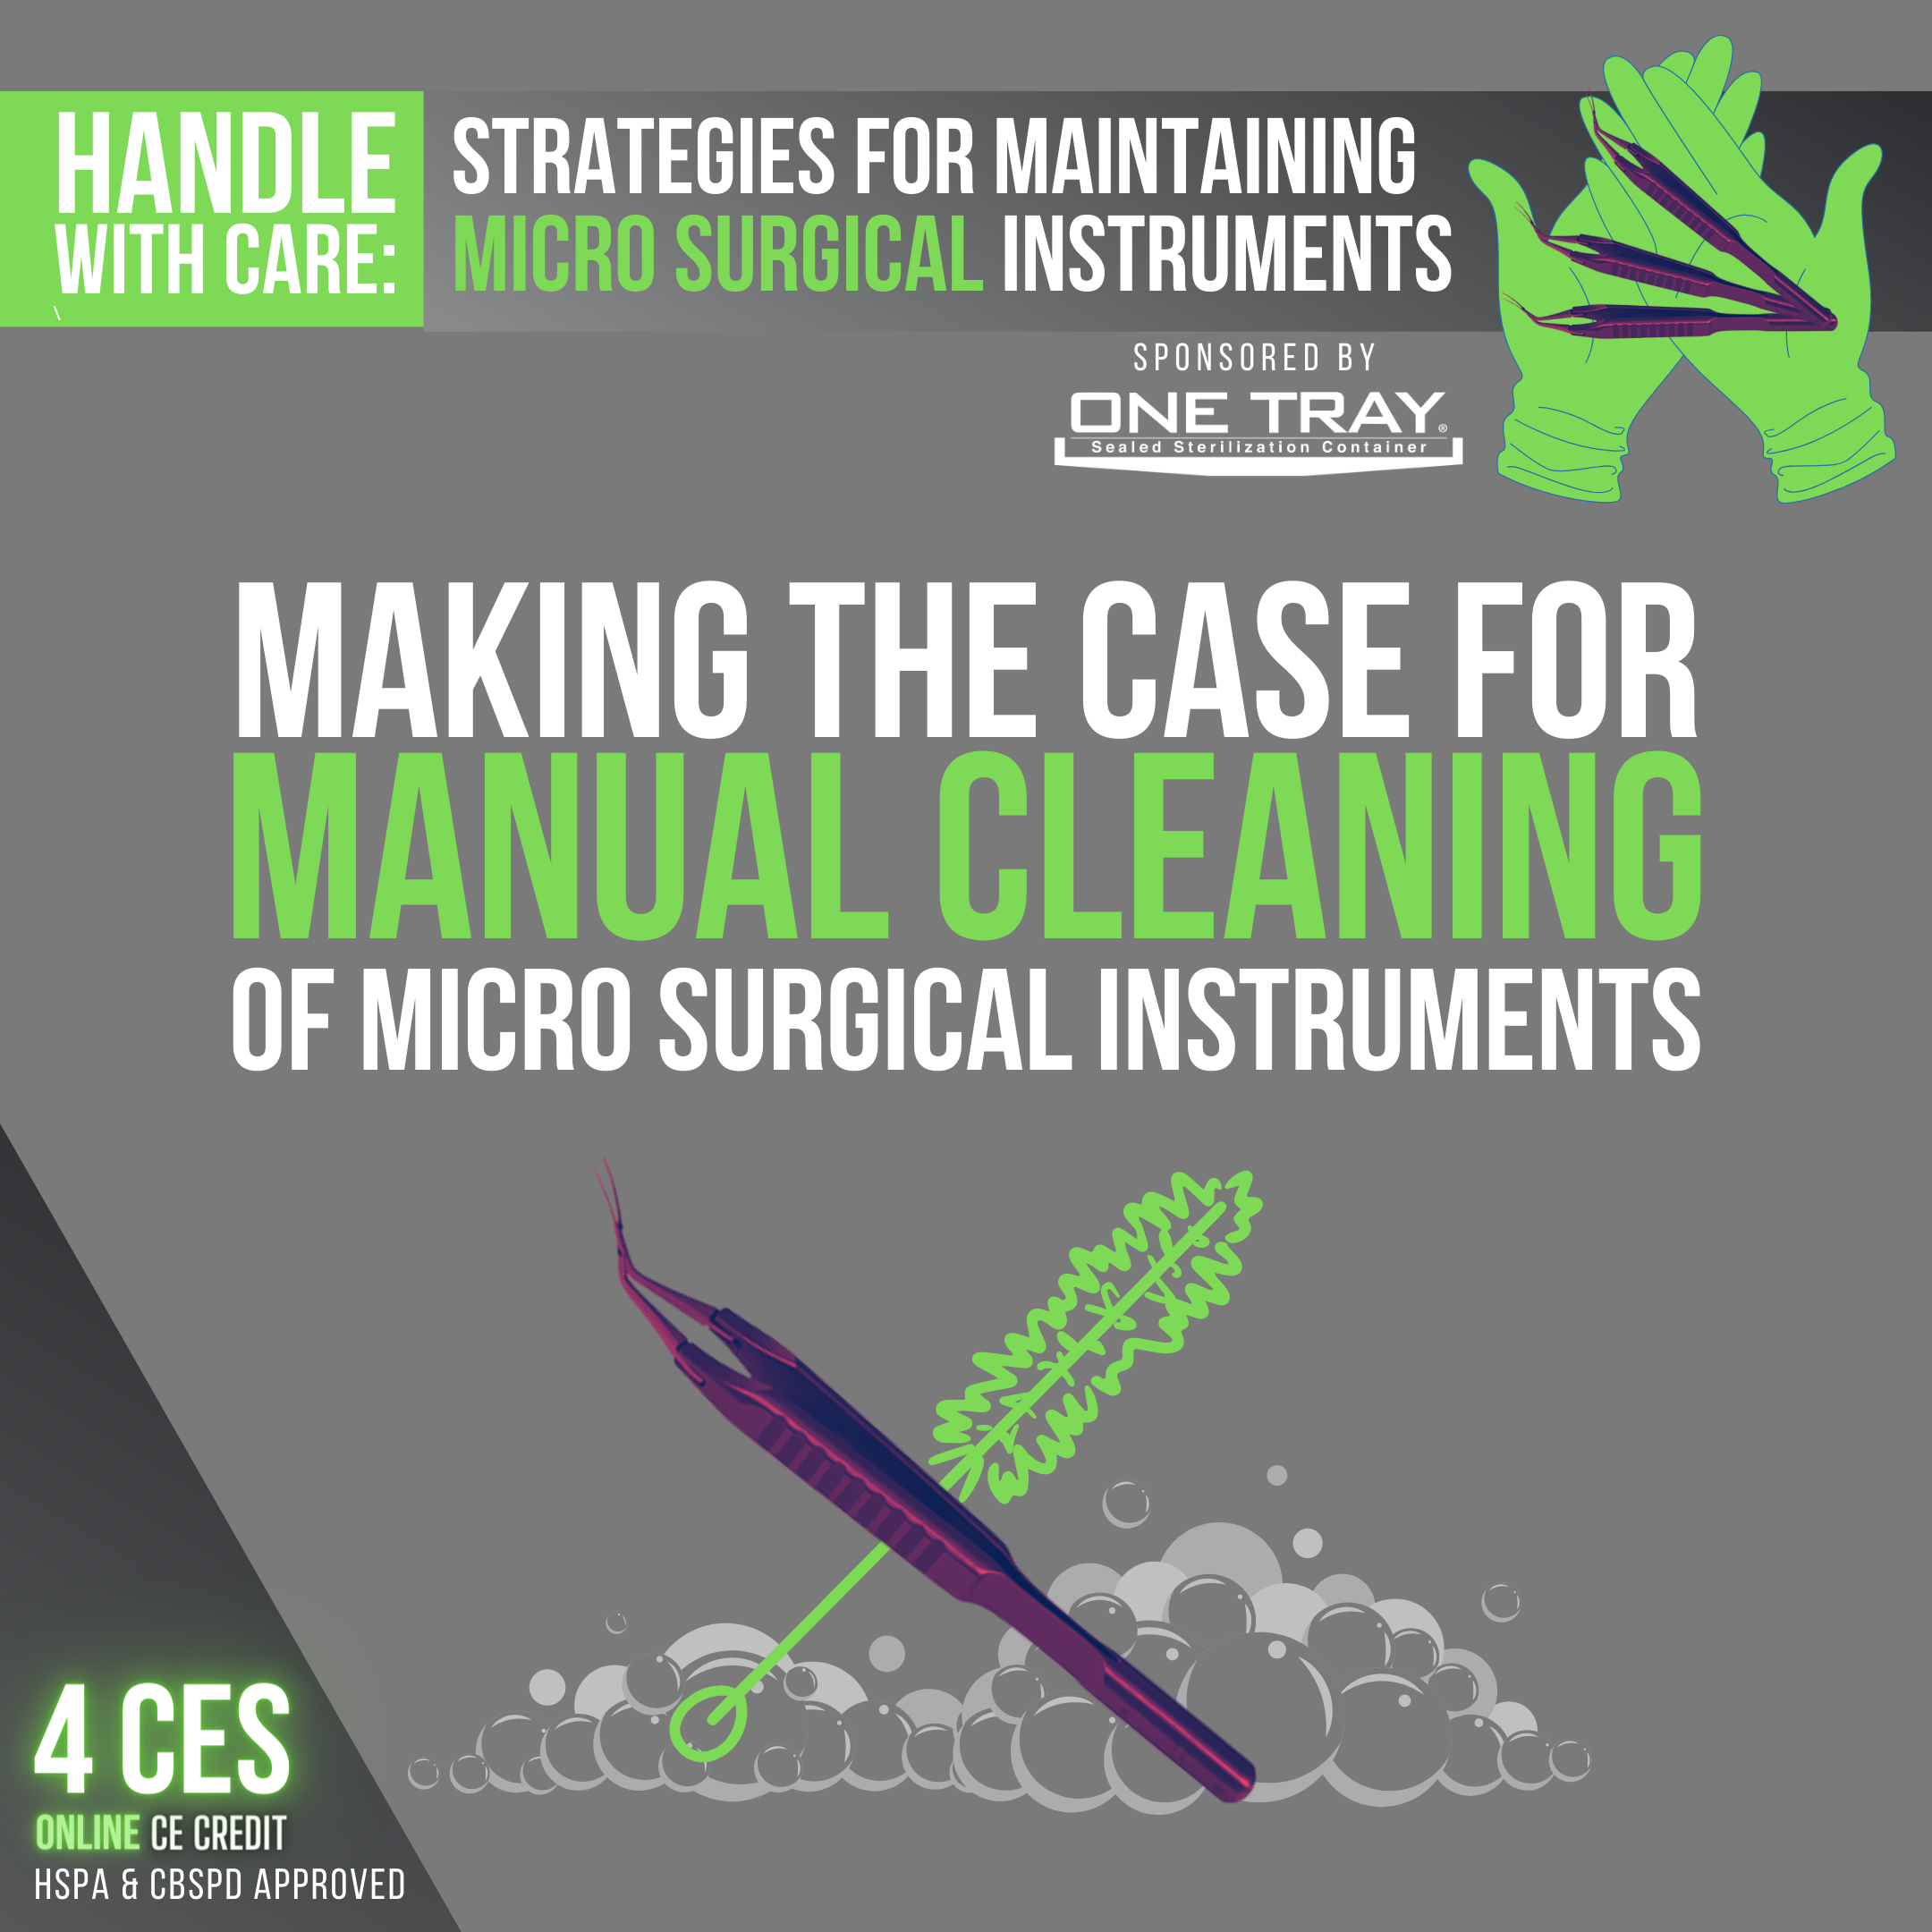
Making the Case for Manual Cleaning of Micro Surgical Instruments
Even though most, if not all, micro surgical instruments are validated for automated cleaning, there is still an important place for manual cleaning and inspection during the decontamination phase of reprocessing these specialized instruments.
Prior to performing this step, always ensure you have the proper personal protective equipment (PPE), cleaning supplies & chemicals, and a complete understanding of specific device instructions for use (IFUs) so that you can safely and compliantly complete the manual cleaning stage.
Common PPE includes:
* Hospital issued scrubs
* Disposable shoe covers
* Hair covering for head (and beard, if applicable)
* Utility gloves that are fitted at the wrist
* Liquid-resistant covering with sleeves
* Fluid-resistant face mask and eye protection
Adequate lighting is another critical, yet often overlooked, tool needed to properly complete the manual cleaning & inspection stage. Due to the depth and design of decontamination sinks, as well as various chemical coloring used, the bottom of the sink bays can easily become shadowed and difficult to see while maneuvering and brushing instruments. A well-placed light above the sink bays enables technicians to more safely clean, and more easily see residual bioburden or damage prior to moving the instruments along in the reprocessing cycle.
Detergent selection is also an important consideration for micro surgical instruments in particular, since it is not uncommon for these tools to be made of materials other than the standard stainless steel found in most other instrumentation. Titanium and many types of plastics can sometimes have specific detergent requirements per their cleaning IFUs. As will be discussed in a later section on TASS, ophthalmic instruments may have specific guidelines related to detergents that is critical to review prior to reprocessing.
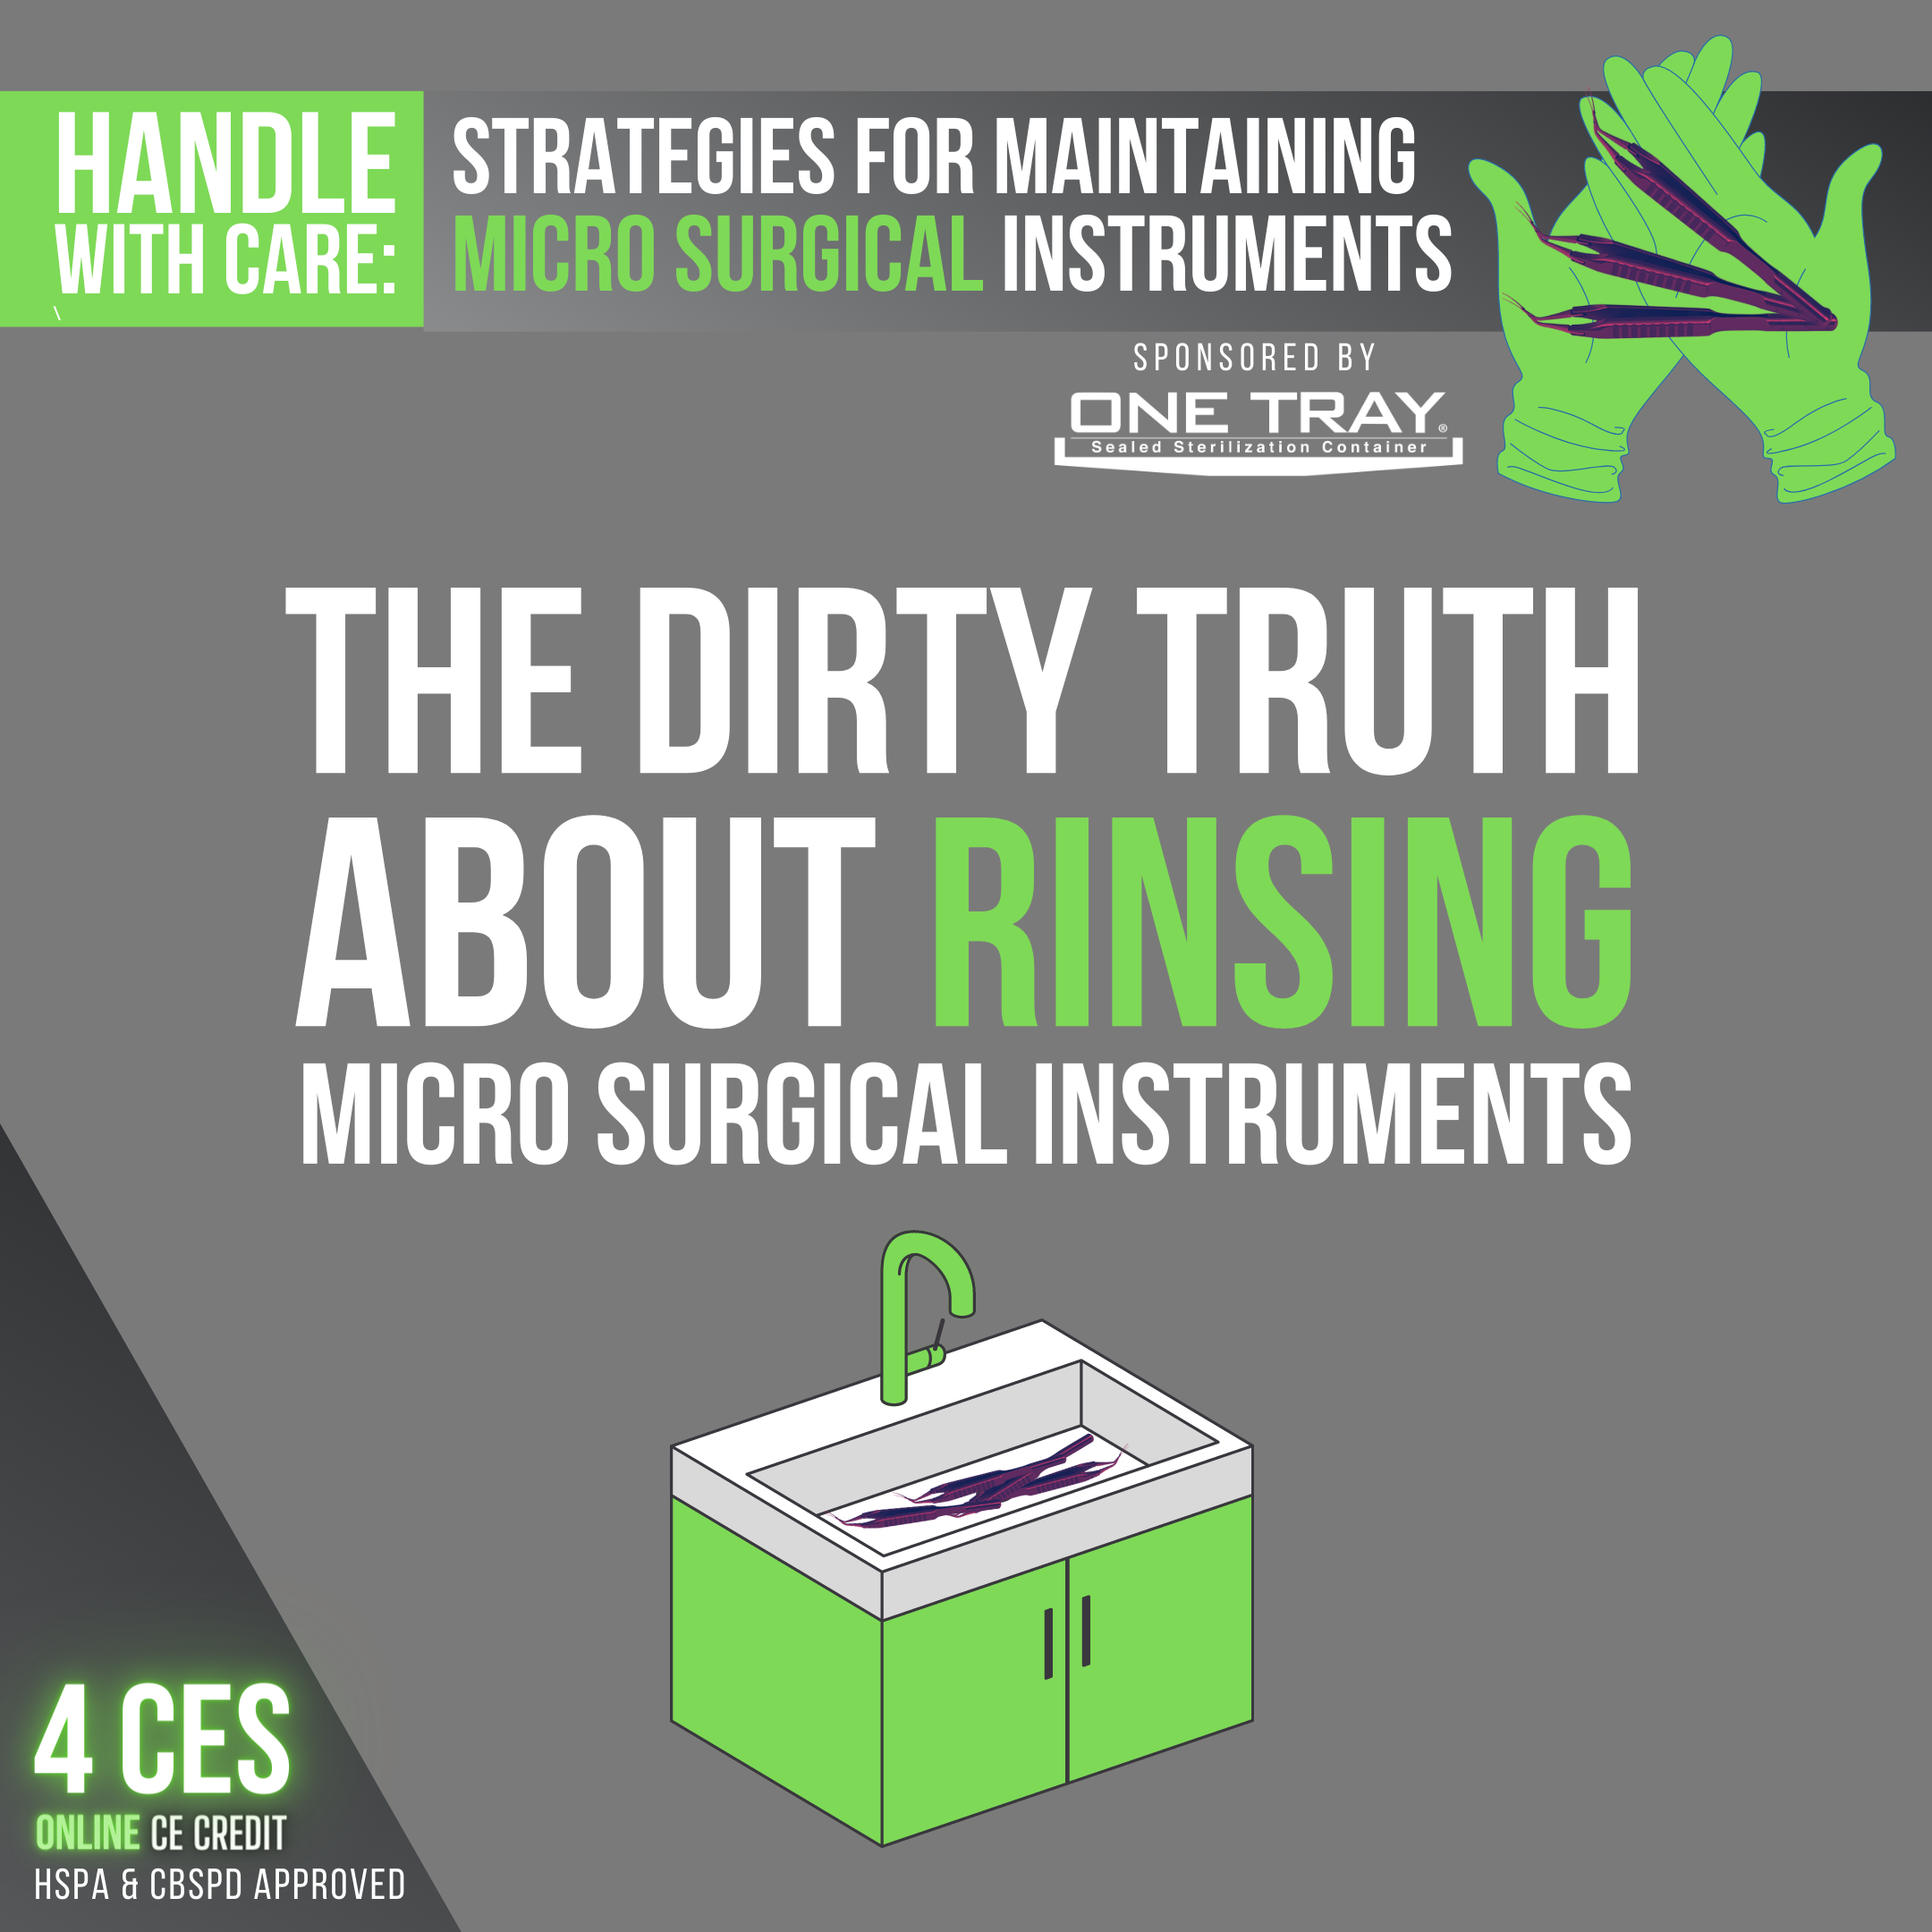
The Dirty Truth about Rinsing Micro Surgical Instruments
While rinsing should not be a new concept for any reprocessing technician, the importance of it cannot be overstated. Particularly during the manual cleaning phase, rinsing of micro surgical devices is critical for ensuring that “chemical carryover” does not occur.
If you are not familiar with this term, chemical carryover refers to the transfer of a chemical from one substance or material to another. This can occur during the production, handling, or use of chemicals, and it can have significant consequences for the safety and quality of products, as well as for the health and safety of people and the environment. In the context of surgical instrument reprocessing, chemical carryover can happen when chemicals used in the Operating Room, precleaning, or manual cleaning stage are not effectively removed from the device during the rinsing stage.
A complicating factor in this conversation is also the type (and quality) of water used for the rinsing of medical devices. As mentioned in our previous educational series, “The Wonderful World of Water Quality,” there are two primary categories of water to be aware of in Sterile Processing:
Utility Water: Water as it comes from the tap that might require further treatment to achieve the specifications. This water is mainly used for flushing, washing, and rinsing. The decision regarding the need to treat incoming tap water to provide adequate water for medical device reprocessing should be undertaken in every facility that reprocesses medical devices.
Critical Water: Water that is extensively treated to ensure that the microorganisms and the inorganic and organic material are removed from the water. This water is mainly used for the final rinse or steam generation.
Depending on where you are in your manual cleaning stage, you may need to be using different types of water for rinsing. A new AAMI guideline will be coming soon to address this in detail and will be known as AAMI ST 108.
When dealing with intraocular micro surgical instruments, AAMI ST79:2017 states that, “[P]articular attention should be directed toward ensuring that the specified concentration of cleaning agent and water of the recommended water quality are used. Final rinsing of the instrument should be performed with the volume of sterile, distilled, or deionized water recommended by the manufacturer. The water used to clean or rinse instruments should be discarded after each use…” (M.2.2.7)

Ultra Important Info for Ultrasonics & Micro Surgical Instruments
You may have heard of “cavitation” before, but what about “microstreaming”?
First, let’s start with cavitation, which is a process that occurs during ultrasonic cleaning, in which millions of microscopic bubbles are created and then implode (collapse) in a liquid. This process is caused by the high-frequency sound waves that are generated by the ultrasonic cleaning equipment. When the sound waves pass through the liquid, they cause the molecules of the liquid to vibrate and create tiny bubbles.
These bubbles are called cavitation bubbles, and they are so small that they are not visible to the naked eye. As the bubbles are created, they are swept along by the sound waves and are subjected to alternating high and low pressure. When the bubbles reach a region of high pressure, they implode, producing shock waves and extremely high temperatures (up to several thousand degrees Fahrenheit) for a brief moment.
During the implosion of the cavitation bubbles, a process called microstreaming occurs, in which the liquid is agitated and mixed, creating a scrubbing action that helps to loosen and remove contaminants from the surface of micro instruments. In addition to microstreaming, the high temperatures and shock waves produced by cavitation helps to break down and remove contaminants that are difficult to remove using other cleaning methods, such as biofilms and debris lodged within lumens & cannulas.
If an ultrasonic cleaner is used to process intraocular instruments according to AAMI ST:79 Annex M, “it should be emptied, cleaned, rinsed, and dried at least daily or, preferably, after each use. Brushes and other cleaning implements should be cleaned and decontaminated as recommended by the manufacturer at least daily or, preferably, after each use. Whenever possible, single-use brushes and other cleaning implements should be used and then disposed of afterwards.”

Let’s Talk About Lubricating Micro Surgical Instruments
Do you lubricate your micro surgical instrument inventory? Should you? And if so, how?
Anytime you are dealing with surgical instruments that have actuating parts, hinges, and box locks where metal is moving against other metal, you should take a look at the manufacturer’s IFUs to see if regular lubrication is recommended. Micro surgical instruments are no different. However, due to their small size and delicate design, the impact of inadequate lubrication treatment may show itself faster in micro surgical instruments than some other devices.
When evaluating a lubricant, ensure you identify the type of lubricant recommended by the device IFU, that it is compatible with the modality of sterilization being used (ie. Water-soluble lubricants would be compatible with steam sterilization), and that your team has been trained on the general concepts of proper lubrication. Unlike in a lubrication bath, when applying lubricant to a device in the Prep & Pack area, small amounts of lubricant can go a long way. Follow the chemical IFU for instructions on application as well as any required PPE during use (such as gloves and eye protection).
Importantly, do NOT lubricate items that already show signs of corrosion. Lubrication will not “fix” or treat the corrosion, and will only further damage the instrument when used. If corrosion is identified, immediately remove the device from service for inspection by the device manufacturer or your instrument repair vendor.
Developing a compliant lubrication schedule is an important step for hardwiring this process in your department. Most current instrument tracking systems can be used to set popups and reminders based on instrument cycles & usage to give technicians an easy way to keep track of how often these devices need to be lubricated. These tracking system tools are also a great way to keep documentation of this step ready and accessible for future accreditation surveys as well.

A Closer Look at Micro Surgical Instruments & Magnification
With micro surgical instruments, it is the small things that matter. But without some sort of enhanced visual inspection tool, our frontline technicians will be unable to effectively inspect, test, and package these devices up to the high standard they deserve. Let’s take a look at a few of the most common magnification tools on the market today:
1) Handheld magnifying glass (lighted) – This is as small, standard magnifying glass that allows technicians to hold up a micro surgical instrument for closer inspection. They are relatively easy to use, affordable, and do not take up a lot of space on the assembly table.
2) Magnifying Lamps: These are lamps with a magnifying lens built into the base or the arm. Often they are attached to Prep & Pack tables, and the arm can be pulled over when needed, and pushed out of the way when not.
3) Jeweler’s Loupe: These are small handheld magnifying tools that have a single eyepiece and are used to magnify small, delicate objects. With extended use, technicians can become proficient enough to hold the loupe with their eye, leaving both hands free to manipulate the instrument for further inspection.
4) Microscopes: These are high powered instruments that use lenses to magnify small objects or details on a microscopic level. Often used laboratories and research facilities, some versions allow technicians to plug in via a USB computer port and show the instrument image on the workstation computer screen.
5) Head-mounted magnifiers: These are devices that are worn on the head and have a magnifying lens in front of one or both eyes. This tool can be convenient if a technician will be inspecting many micro instruments at a particular time, and still leave both hands free.
5) Magnification software: These are computer programs that can magnify the text and images on a computer screen, making them easier to see for people with vision impairments. This tool also enables easy photo capture and documentation for warranty or training purposes.
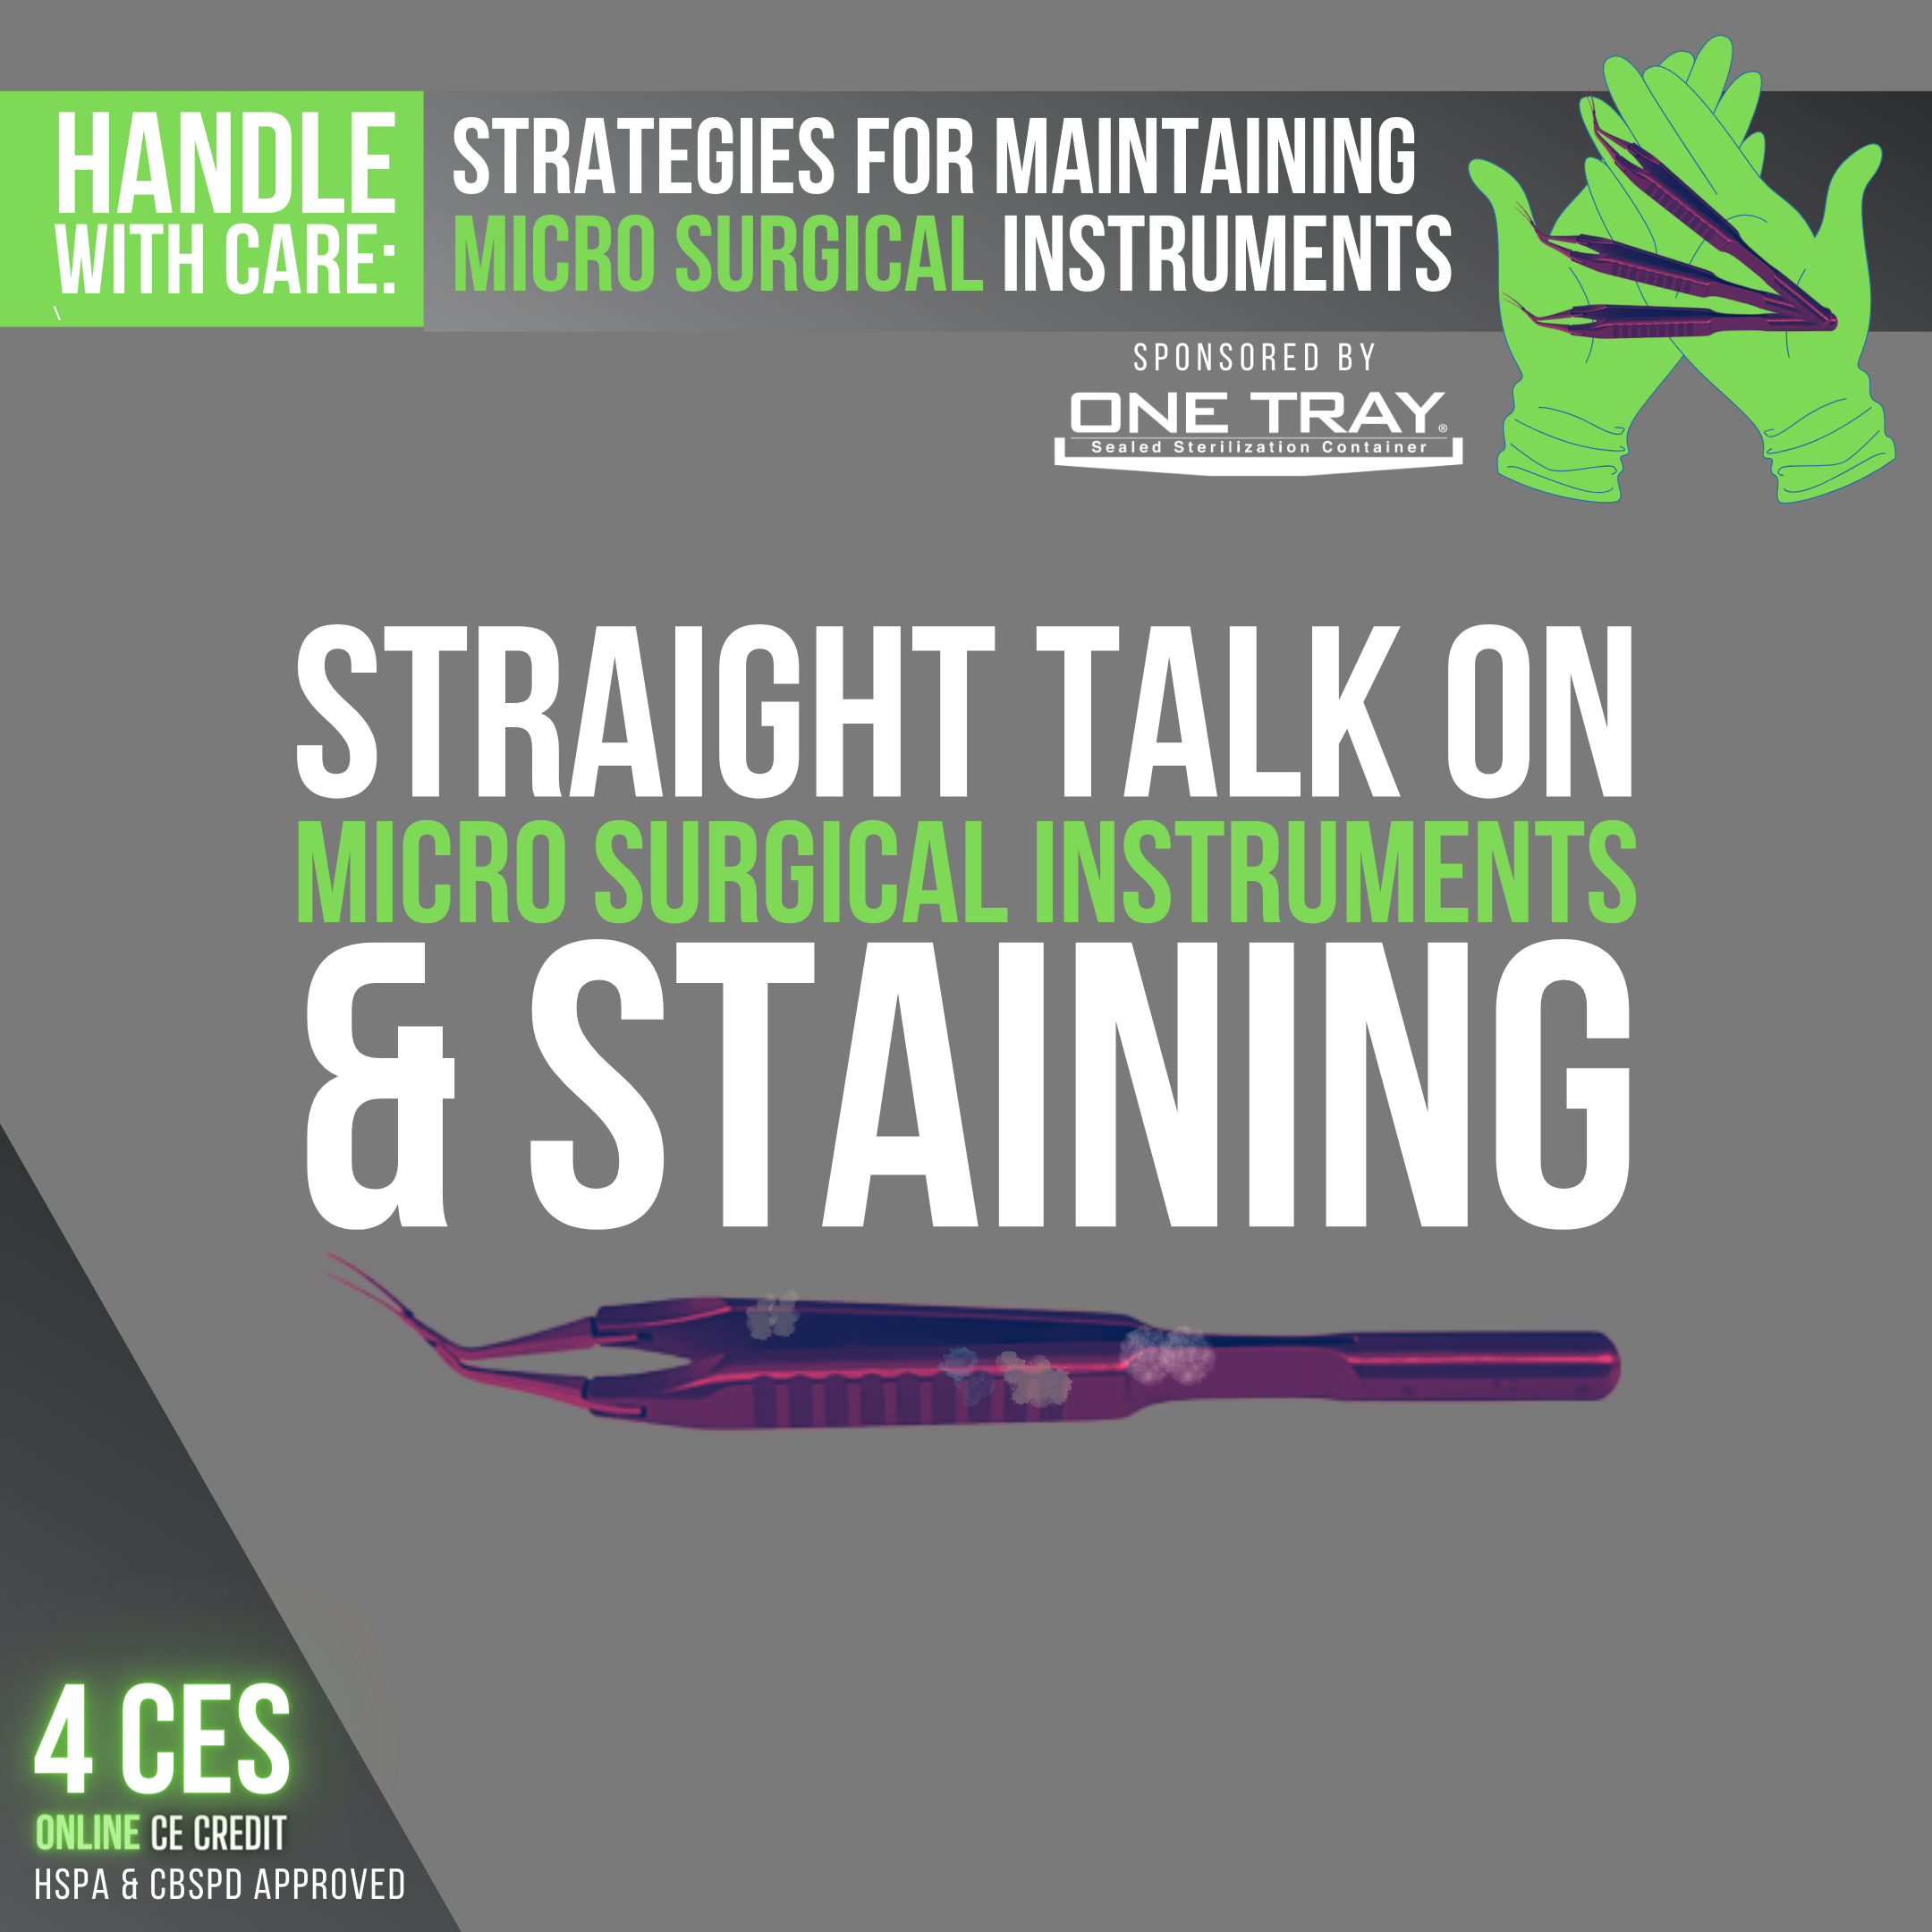
Straight Talk on Micro Surgical Instruments & Staining
What do you do when your shiny new micro surgical instrument isn’t so shiny and new anymore? Is instrument staining a foregone conclusion? What’s the best course of action if you encounter it?
To start, there are several types of discoloration, staining, and corrosion that can affect micro surgical instruments. These include:
Rust: Rust is a form of corrosion that occurs when iron or steel instruments are exposed to water or moisture. It can cause the instruments to become discolored and brittle, and also become a source of foreign bodies during a surgical procedure.
Staining: Staining can occur when instruments come into contact with certain substances, such as blood, chemicals, or even water that has not be treated properly. Overtime these stains may be difficult to remove and could be a symptom of a larger problem in your reprocessing workflow.
Discoloration: Discoloration can occur due to exposure to certain chemicals, water quality, or due to wear and tear. It can affect the appearance of the instrument but does not always affect its function.
Corrosion: Corrosion is the degradation of a material due to chemical reactions with its environment. It can cause instruments to become discolored and weakened, and can affect their functionality.
It is important to properly identify what it is you are seeing on your instruments to know what steps to take to remedy the root causes. Contributing factors that should always be evaluated are: device IFUs, chemical IFUs, chemical usage per IFUs, precleaning protocols, sterilant modalities, compliant manual cleaning, general care & handling, and instrument country of origin / quality of manufacturing, just to name a few. Many instrument repair vendors and manufacturers are a great resource to engage if and when you have specific questions.

Demagnetizing Micro Surgical Instruments & Why It Matters
Demagnetizing micro surgical instruments is typically done using a table-top demagnetizing device, which generates a reverse magnetic field to neutralize the magnetization of the instruments. It is important to follow proper procedures from the manufacturer’s IFUs for demagnetizing instruments to ensure that they are effectively neutralized and safe to use.
Demagnetizing micro surgical instruments is important for a couple reasons:
1) Improved instrument performance: Magnetized instruments can become difficult to handle and manipulate due to the increased magnetic force. When trying to manipulate small sizes of suture needles or other metal devices, magnetized surgical instruments can attract the item being handled and make it more difficult for the surgeon to handle it with precision. Demagnetizing the instruments can improve their performance and make them easier to use.
2) Reduced risk of instrument or foreign body retention: Surgical instruments or foreign material that is left behind in a patient’s body after surgery, known as retained surgical instruments (RSI) or retained foreign bodies (RFB), can cause serious complications. Magnetized instruments can attract other metal objects such as suture needles and small metal shavings, increasing the risk of an item being inadvertently retained in the surgical site.
As with lubrication, check your device manufacturer’s IFUs to determine the recommended schedule for demagnetization, and ensure each staff member is properly trained to accomplish this task.
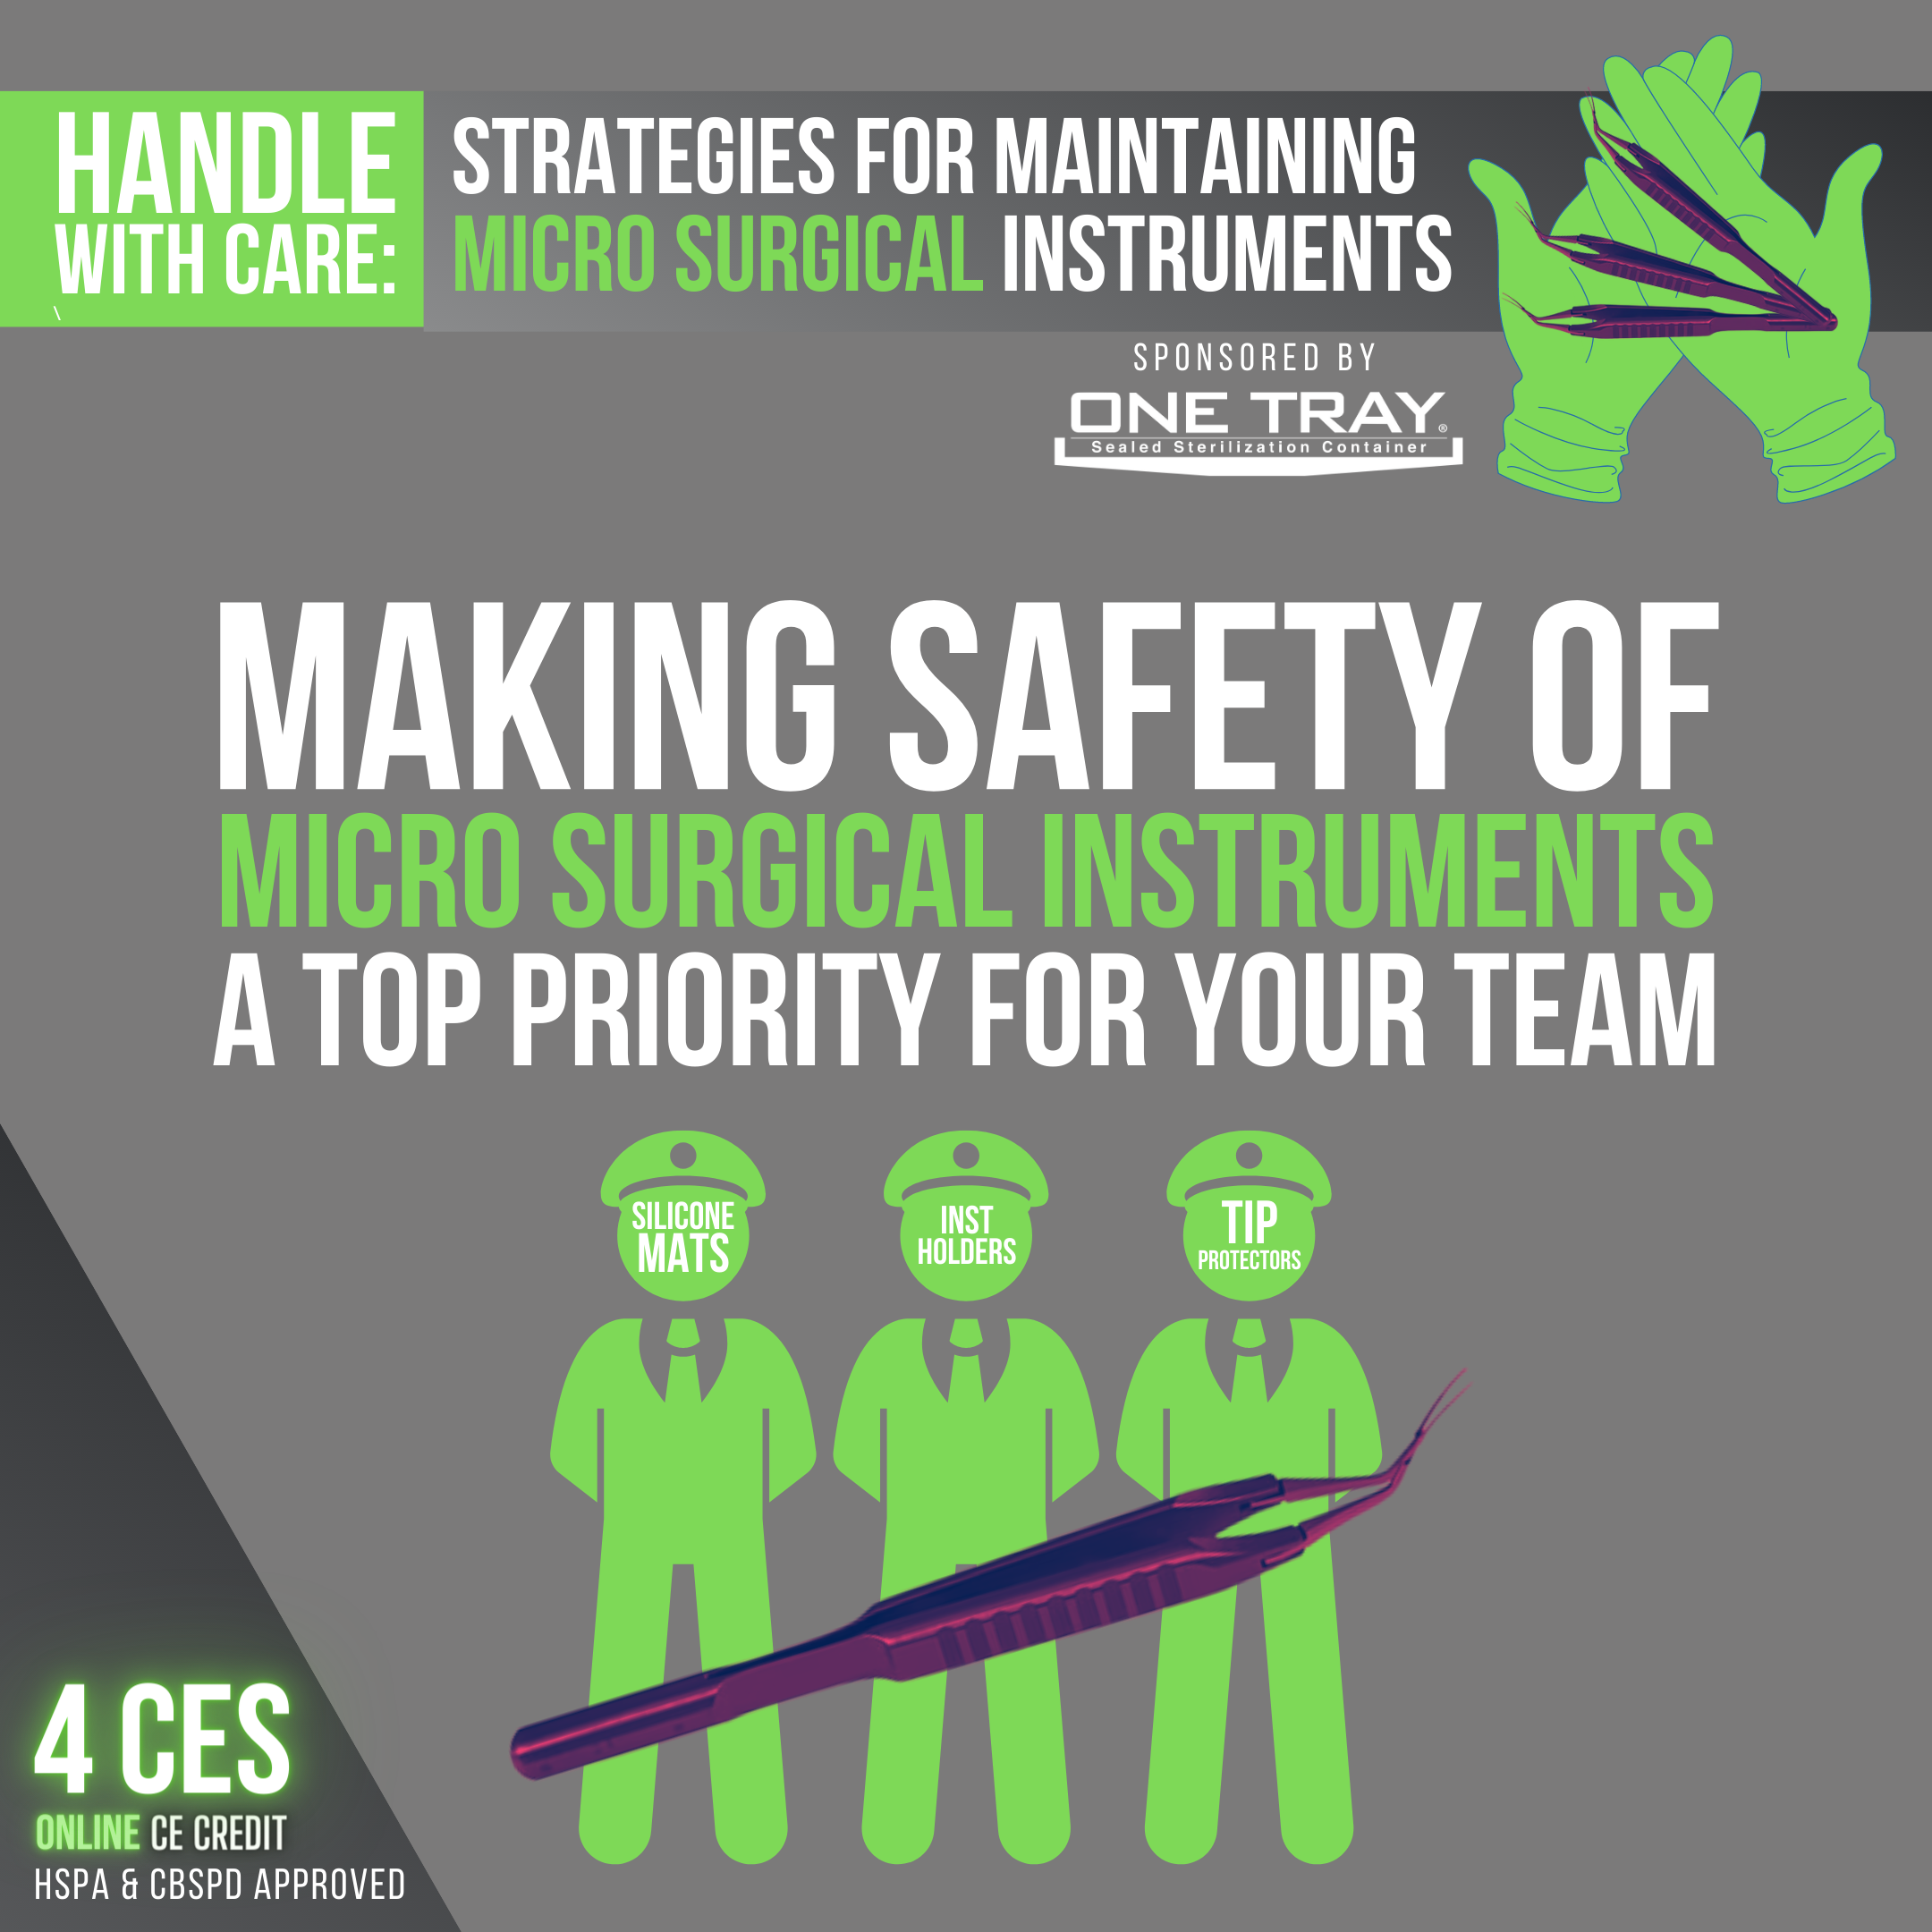
Making Safety of Micro Surgical Instruments a Top Priority for Your Team
Instrument safety can take many forms when considering your micro surgical instrument inventory. Here are three common approaches taken by reprocessing teams to guard these delicate devices from damage throughout the reprocessing cycle, to the Operating Room, and back again.
Silicone Tray Mats: This is one very common solution used to hold micro surgical instruments in place during reprocessing, storage, and transport. There are many manufacturers of silicone tray mats out in the market today, and most have documented validation for them to go through appropriate sterilization modalities such as steam and low temperature hydrogen peroxide. The micro surgical devices are place between the “fingers” of the silicone mats, which then holds them stationary and separate from one another.
Note: If utilizing silicone mats for your trays, take a close look at the IFUs for both the mat and your instrument washers and ultrasonic cleaners to ensure you are being compliant with their specified loading protocols for the decontamination stage. AAMI ST79:2017 has multiple references stating users should “remove silicone mats” prior to washing (7.5.2.1 (d), 7.6.4.3.4 (o), and 7.6.4.4.2 (d)).
Instrument Holders: Similar to the silicone mats mentioned above, there are various customized instrument holders on the market that provide a safe means to hold micro surgical devices during the reprocessing workflow. Some of these are rubber moldings built into the tray themselves, that can be customized to fit the size and length of the device being held. Other examples are small wire baskets that have internal inserts positions to hold instruments such as diamond knives and delicate scissors during transport. Make sure to confirm with the holder IFUs whether or not instruments can remain in the holders during the washing phase of your workflow.
Tip Protectors: These accessories are commonly used in reprocessing departments to protect delicate instruments from damage, and protect sharps from injuring employees in SPD and the Operating Room. Any time a tip protector is used, ensure you are using the proper design & size for the instrument it is being applied to. Using incorrect tip protectors can make it dangerous or difficult to remove in the OR or later in Decontamination, which can inadvertently lead to instrument damage or potential staff injury. Since most tip protectors are single-use, it is the least environmentally sustainable of the options listed here.

Packaging Particulars for Micro Surgical Instruments & Helpful Tips for Labeling
Most micro surgical instruments are validated for reprocessing in any of the FDA approved packaging methods commonly found in a Sterile Processing department, including rigid containers, peel packs, and disposable wrap.
When it comes to peel packing micro instruments, the most important decision to make is how the device will be protected within the packing itself. Due to the design of peel packs, they provide little in the way of stability or protection within the packaging itself. If the micro instrument being packaged has sharp tips, some type of tip protector should be used to protect the device as well of the integrity of the package itself. It is always easiest to affix the tracking label to the package PRIOR to inserting the device into the peel pack for a smooth label. For organizational and storage purposes, you should develop a standard location and orientation to affix your peel pack labels to allow for efficient identification, scanning, and retrieval of peel packs from inventory bins and sterilization racks.
If wrapping your micro surgical instruments for sterilization, follow your wrap manufacturer’s IFUs regarding packaging and folding recommendations. Importantly, you should make every attempt to ensure internal baskets or sterilization containers have appropriate lids to provide adequate protection of the wrapped items through the sterilization, storage, and transport stages. Wrap material alone does not provide adequate protection of delicate devices without additional protection. As with peel packs, determine a standard placement of labels on your wrapped inventory to allow for easy scanning and storage of these packages.
Finally, if utilizing rigid containers for your micro surgical inventory, you will still want to ensure they are properly seated within the internal basket or container. As with all packaging methods, basic care and handling concepts such as holding the container at a 90 degree angle to the floor while lifting and carrying should be followed. While most rigid containers can accommodate larger numbers of instruments, you will still want to be cognizant of appropriate spacing and protection of devices within the tray so as not to overload the container. Generally it is preferred to affix temporary labels to an external tag, and not the container itself to decrease adhesive residues on the outside of the container.

Overcoming the Sterilization Challenges of Micro Surgical Instruments
In one sense, the sterilization basics of micro surgical instruments is no different than any other surgical instrument. Devices must be properly cleaned, tested for functionality, safely packaged, and correctly staged for sterilization. Microbes do not care if they are living on a Charnley Retractor or a Lid Retractor, they just want to survive!
But the design of micro surgical instruments in particular can make it even more difficult for reprocessing technicians to properly prepare them for successful sterilization. Here are just a few unique challenges these instruments can pose:
Tiny Cannulas (and sterilizer lumen restrictions) – Some micro surgical instruments, especially intraocular devices, can have very small cannulas which can be extremely difficult to clean. Additionally, some sterilizers may have lumen restrictions and lack validated cycles for such small diameters of lumens. You should consult your autoclave manufacturer’s IFU prior to running any micro surgical instrument loads to ensure your cycle selections and equipment specifications line up.
Lenses that may be heat sensitive – Some instrumentation such as lenses can be heat sensitive, requiring specialized sterilization load modalities which may differ from other stainless steel or titanium instruments within a micro tray. These differences should be researched prior to setting up the original tray configuration and accommodations made for the workflow if they require different modalities or temperature settings.
Multi-part instruments that are supposed to be sterilized disassembled – While difficult to disassemble and re-assemble many times, there are multi-part micro instruments which require disassembly prior to sterilization. You may even have devices in your inventory today that you have never disassembled prior to sterilization, which actually require disassembly per the instrument IFUs. Any micro surgical device which has multiple parts should be a priority for IFU review as it pertains to the assembly or disassembly instructions for sterilization. If disassembly is required, you may want to utilize an internal basket or tray section to keep the small parts together in the tray during sterilization, storage, and transport.
Limited reprocessing lifecycle of some instruments – The final sterilization challenge we’ll mention here is instruments that have some type of limited reprocessing lifecycle. Obviously this needs to be identified proactively through a thorough review of the instrument IFUs, but it must also be tracked & documented through either a manual tracking log, or an electronic paper trail within your instrument tracking system. Make sure to develop a replacement ordering process to line up with instrument exchanges when an instrument has reached the end of its validated lifecycle.

Comparing Sterilization Methods for Micro Surgical Instruments
There are a number of different methods for sterilizing micro surgical instruments across the industry. Here’s a quick introduction to the various modalities below. Before reprocessing any instrument in your facility however, verify with your device, packaging, and equipment IFU which of these (and which specific parameters) they have been validated for:
Steam sterilization is by far the most common process in use for on-site instrument reprocessing, in which high pressure steam is used to kill microorganisms on surfaces and objects.
Ethylene oxide (EtO) sterilization is a chemical sterilization process that uses gaseous ethylene oxide to kill microorganisms on surgical devices. This method is effective for sterilizing heat-sensitive items that cannot be exposed to the high temperatures you would get in a steam autoclave.
Gas plasma sterilization is a process in which a mixture of gases, including hydrogen peroxide and other reactive species, is used to kill microorganisms on surgical instruments. This method is also effective for sterilizing heat-sensitive items and can be used on a wide range of materials.
Cold sterilization is a process in which microorganisms are killed using low temperatures and chemical agents, such as alcohols or disinfectants. This method is not as effective as other sterilization methods and is typically used for surface disinfection rather than sterilization.
Liquid chemical sterilization is a process in which chemical agents, such as glutaraldehyde or hydrogen peroxide, are used to kill microorganisms on surgical instruments. This method is effective for sterilizing heat-sensitive items, but the instruments must be thoroughly rinsed and dried before use.
Dry heat sterilization is a process in which high temperatures are used to kill microorganisms on surfaces and objects. This method is effective for sterilizing heat-resistant items, but it can take longer than other sterilization methods and may damage some materials.

Thinking Small About Micro Surgical Instrument Storage
Even though surgical instrument storage may not seem that complex compared to the decontamination and sterilization phases of reprocessing, it is just as important in guarding your micro surgical instruments from compromise, damage, and cross contamination.
The selection of your packaging method will impact how you approach your inventory storage. If you are peel packing your micro surgical instruments, you will want to set up a bin or basket system that allows for you to quickly store and retrieve these devices without overstuffing, crumpling, or inadvertently dropping peel packs on the floor. Clear labeling of these bins, baskets, and peel packs assists in quickly & correct picking of surgical case carts, as well as correct restocks if devices are returned unused from surgery.
If you are wrapping your micro instruments, ensure that you are following your surgical wrap manufacturer’s IFUs pertaining to storage, especially in regards to stacking of wrapped trays. Many manufacturers prohibit the stacking of wrapped trays, so you will need to outfit your storage area with a shelving solution which allows for single layer storage for this inventory. Importantly, take special care to keep sterilization tape from going around and underneath your wrapped trays to guard against the tape “rolling” up from contact with the shelf, and potentially pulling away from the wrap during storage and distribution. As mentioned in a previous post, also ensure any wrapped trays or baskets have an appropriate top or cover to keep instruments safely in place during the storage and transport phase.
Micro instruments which are stored in rigid containers are usually able to be stacked in storage, but still must be handled with care when lifting and carrying, so that the internal contents of the container do not cause damage to the instruments themselves.
Facilities should develop a standard storage policy speaking to its adherence to event-related vs. expiry dating for all reprocessed inventory. Importantly, all attempts should be made to be as consistent as possible across packaging methods and products to reduce confusion & complexities in your department protocols.

Ophthalmic Instruments & Toxic Anterior Segment Syndrome (TASS)
Toxic Anterior Segment Syndrome (TASS) is a rare but serious complication that can occur after ocular surgery, such as cataract surgery. It is characterized by inflammation and tissue damage in the front part of the eye (the anterior segment). The exact cause of TASS is not fully understood, but it is thought to be related to:
Inadequate reprocessing of intraocular micro surgical instruments: Failures in precleaning, manual cleaning, ultrasonication, automated cleaning, and/or rinsing can introduce chemical residues or foreign materials into the eye increasing the risk of TASS.
Poor surgical technique: Factors such as improper handling of the eye tissue or inadequate rinsing of the eye during surgery may increase the risk of TASS.
Previous ocular surgery: People who have had previous ocular surgery may be at higher risk of TASS, especially if they have had multiple surgeries or have underlying conditions that affect the eye tissue.
Symptoms of TASS may include eye pain, redness, light sensitivity, and vision changes. If left untreated, TASS can lead to serious complications such as scarring, loss of vision, and even loss of the eye.
Additional information on TASS and the impact of instrument reprocessing can be found at [Source: AAMI ST79:2017]:
-
- American Society for Cataract Refractive Surgery (http://www.ascrs.org)
- American Society of Ophthalmic Registered Nurses (http://www.ASORN.org)
- Association for the Advancement of Medical Instrumentation (http://www.aami.org)
- Association of periOperative Registered Nurses (http://www.aorn.org)
- Centers for Disease Control and Prevention (http://www.cdc.gov)
- Food and Drug Administration (http://www.fda.gov)

Mistakes with Micro Surgical Instruments & What to Watch For
What are the red flags that would signal danger & risk for your micro surgical instrument workflow?
For starters, tight time constraints for reprocessing is a major risk factor for technician mistakes during decontamination, inspection, assembly, and even sterilization. Mistakes may include, forgetting to flush a particular cannula, skipping the ultrasonication step, foregoing magnified inspection of your forceps, inadvertently leaving an instrument out of the tray (but marking it complete on the count sheet), or selecting an inappropriate sterilization cycle, to name just a few. All of these examples can be caused by technicians rushing to turnover trays with inadequate inventory or poorly scheduled cases.
Due to the higher cost of micro instrumentation, it can be tempting to leave instruments in trays beyond their useful life, which could lead to serious issues when used during surgery. Knowing how your micro surgical instruments should function, and how to properly test each variation during the assembly stage is crucial for catching quality breakdowns BEFORE they make it to the patient.
Instrument marking tape is a common means to identify specialty instrumentation such as micro instruments, but is often times very difficult to maintain per manufacturer IFUs and industry recommendations. In addition to inspecting the instrument itself, make it a point to thoroughly inspect all marking tape each time the device is assembled to ensure the tape is not cracking, flaking, or crumbling.

Error Free? Micro Surgical Instruments & Error Prevention
The landmark book published in 2000 entitled, “To Err is Human: Building a Safer Health System” and published from the Institute of Medicine (US) Committee on Quality of Health Care in America, asserted that the errors we see in areas of health care such as Sterile Processing are NOT primarily due to bad people in health care — it is that good people are working in bad systems that need to be made safer.
One way to fix these bad systems is the concept of “Error Prevention,” which refers to a set of strategies and practices aimed at reducing the likelihood of errors occurring during the reprocessing workflow. These errors may include mistakes made by technicians, as well as errors made by other members of the surgical team, such as inadequate precleaning from the OR.
There are several ways that reprocessing teams can work to prevent errors in micro surgical instrument trays, including:
Implementing protocols and checklists: Protocols and checklists can help standardize cleaning, assembly, and sterilization procedures to ensure that all necessary steps are completed.
Providing training and education: Ensuring that SPD technicians and other members of the surgical team are properly trained and up-to-date on the latest techniques and protocols can help reduce the risk of errors.
Using technology: Modern technologies, such as instrument tracking software and sterilization interfaces, can help reduce the risk of errors by providing precise and accurate guidance to technicians.
Improving communication: Ensuring that there is clear and effective communication among all members of the surgical team can help prevent errors from occurring.
Knowing these things about our own systems and processes is a critical part of hardwiring error prevention practices in our departments. If and when you encounter errors in your micro surgical trays, the first question should not be, “Who did this tray?” in order to focus the problem on a person. Instead, an error prevention mindset will ask “What aspect of our process failed and why?”
Once you are able to reorient these errors away from people to the process, it frees your team to work together to identify and build a process that attempts to design error out of the workflow. Technicians no longer have to be defensive or embarrassed by mistakes, but are instead empowered to speak to gaps they see in the workflow, and collaboratively brainstorm solutions.
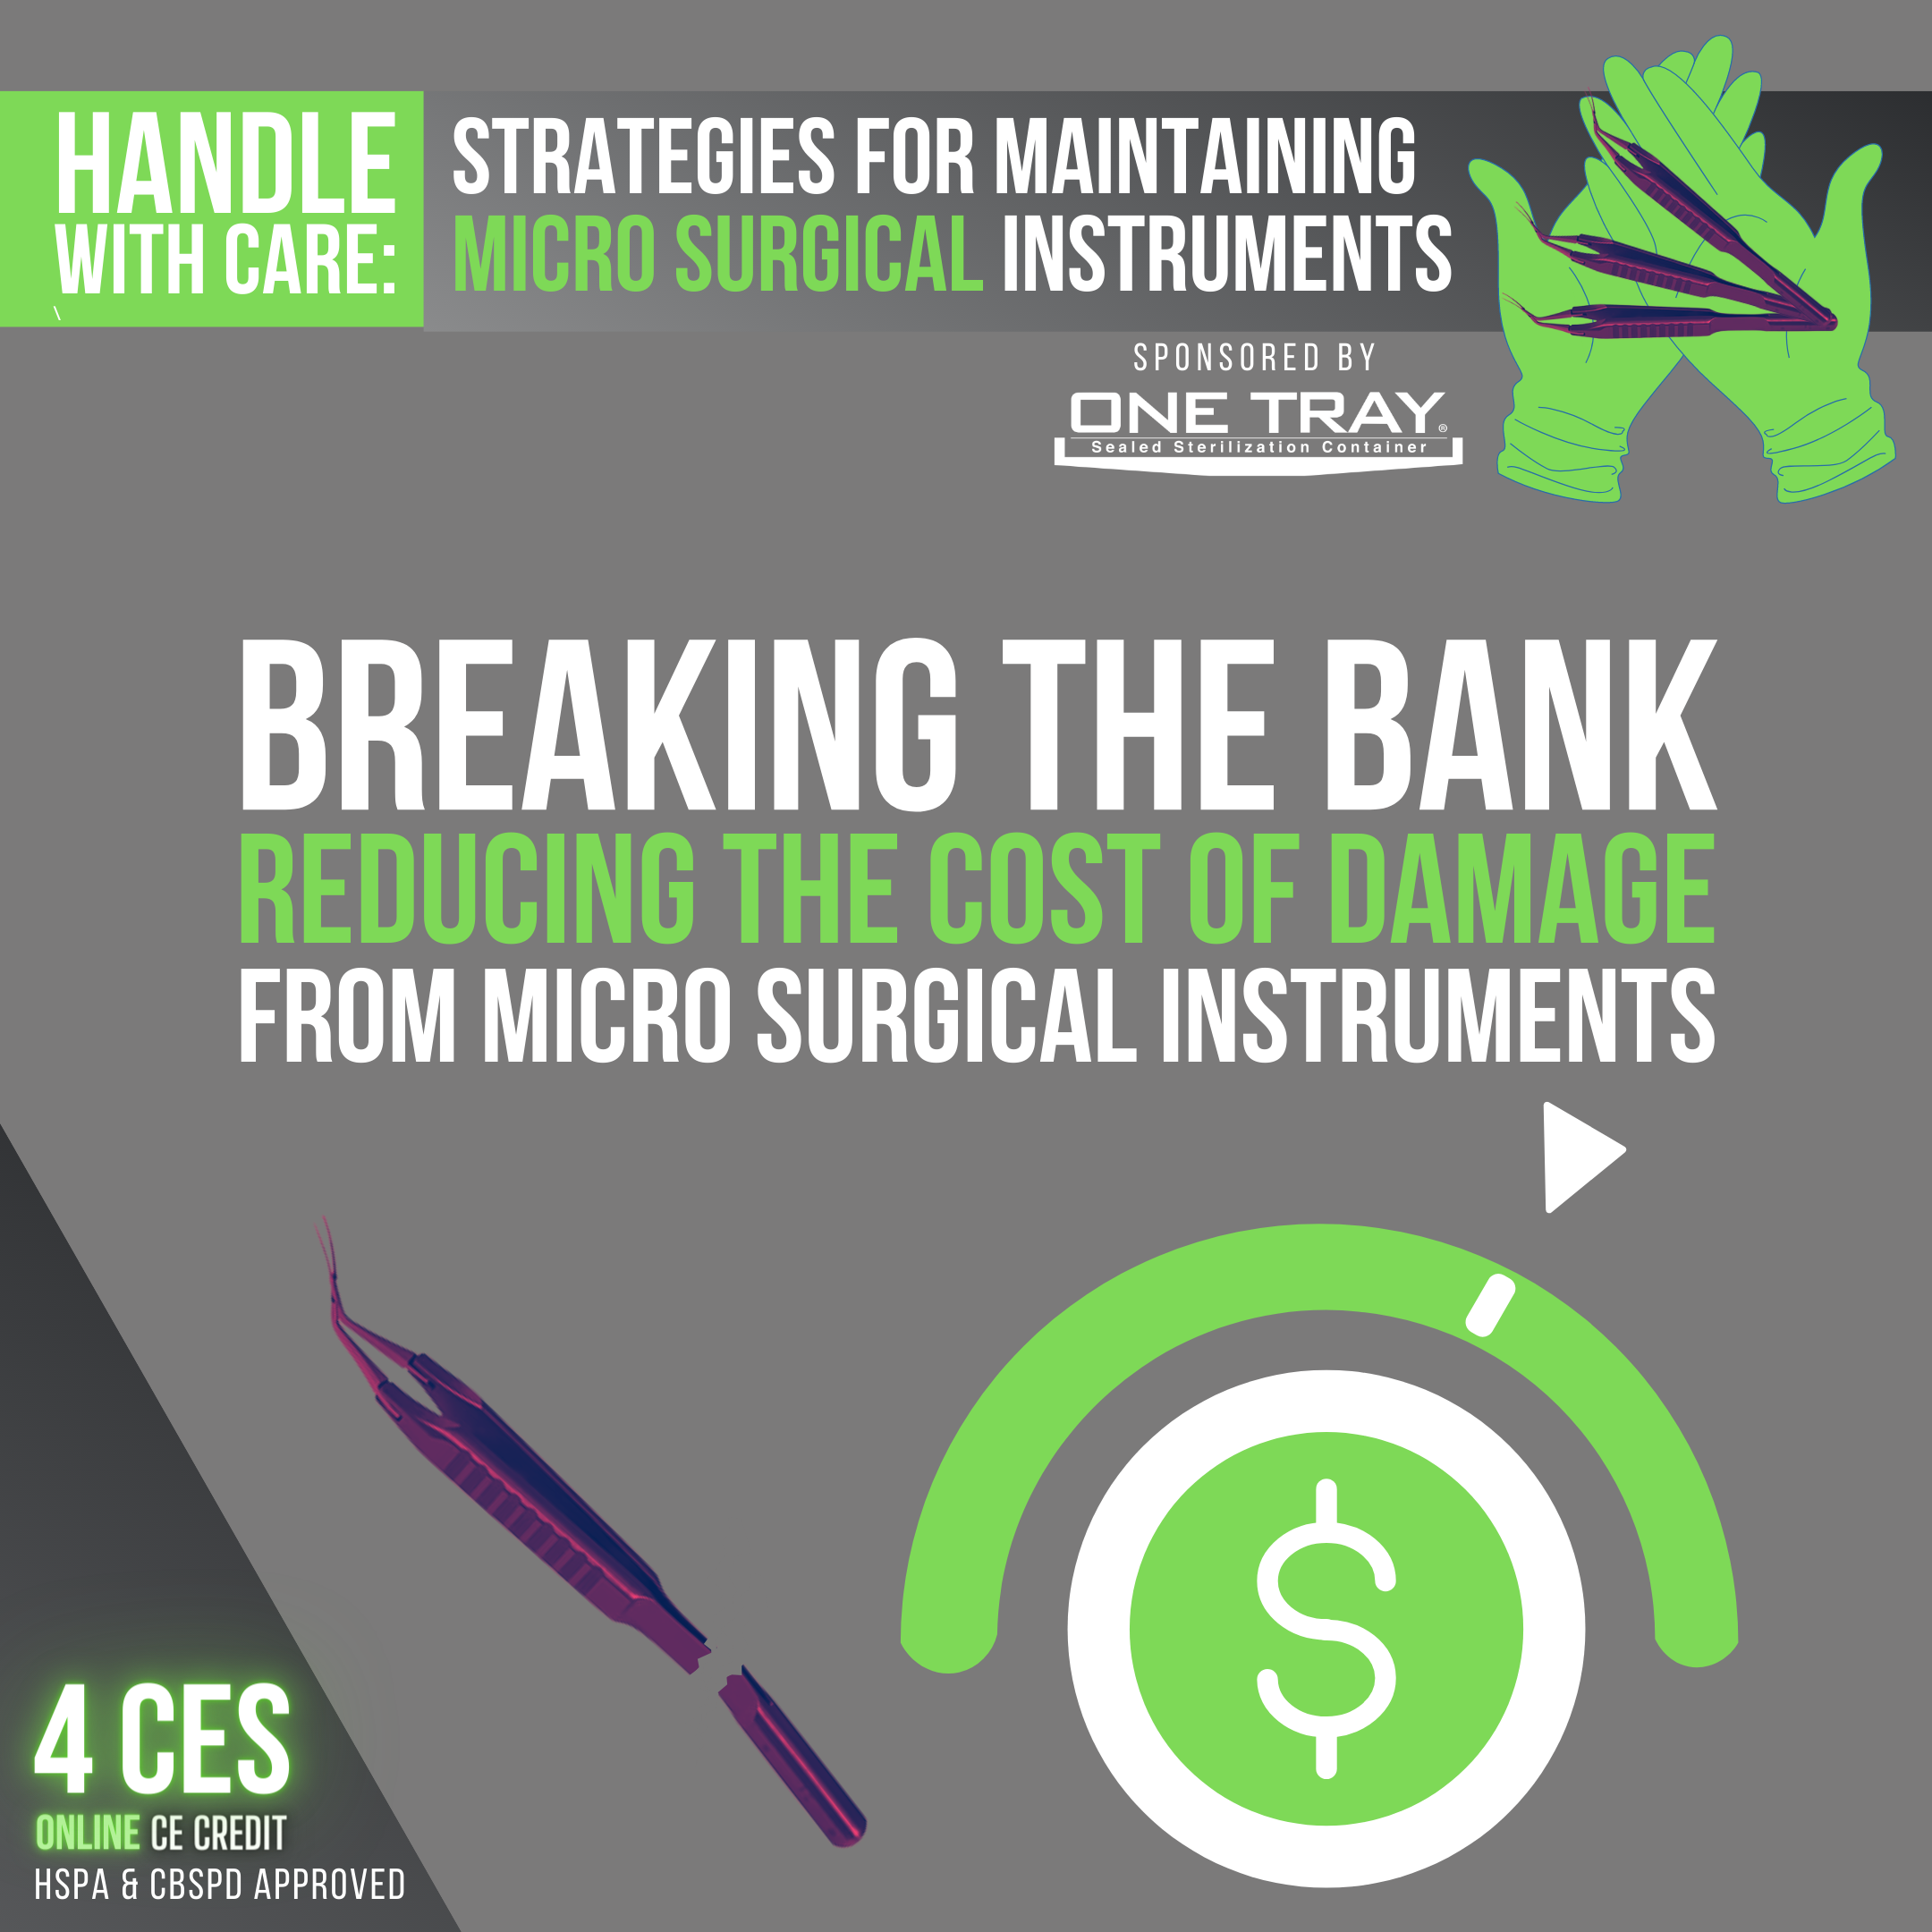
Breaking the Bank: Reducing the Cost of Damage from Micro Surgical Instruments
Surgical instrument replacement and repair costs can eat up large portions of a department budget, especially when dealing with micro surgical instruments. However, there are some simple concepts you can leverage to help you keep these tiny tools as safe as possible. Here are six things to consider:
1) Proper care & handling in the OR: Using the correct technique when handling microsurgical instruments in the OR can help prevent damage. This includes avoiding excessive force, twisting, or bending the instruments, as well as using the proper grip and handling position.
2) Proper care & handling in SPD: Carefully picking up and transferring instruments during the decontamination, assembly, sterilization, and storage process can also help prevent instrument damage. This includes avoiding stacking heavy instruments on top of micro trays, avoiding unnecessary jostling or slamming of trays, refraining from dumping micro instruments in sinks or on tables, and paying special attention to delicate tips.
3) Careful cleaning: Proper cleaning and sterilization of microsurgical instruments is essential to prevent damage to the instrument material itself. This includes using appropriate cleaning solutions and following the manufacturer’s recommendations for cleaning and sterilization, such as proper dwell times, dilution ratios, and drying.
4) Avoiding corrosion: Microsurgical instruments are often made of highly specialized materials that can be prone to corrosion if not properly cared for. Proper water quality & chemical utilization can help prevent corrosion, as can regularly checking and replacing any damaged or corroded instruments.
5) Repairing damage promptly: If a microsurgical instrument becomes damaged, it is important to repair or replace it as soon as possible to prevent even further damage and ensure the instrument is safe and effective to use.
6) Using appropriate instrument trays and containers: Using the correct type of tray or container to store and transport microsurgical instruments can help prevent damage during handling and transport. These trays and containers should be designed to properly support and protect the instruments.
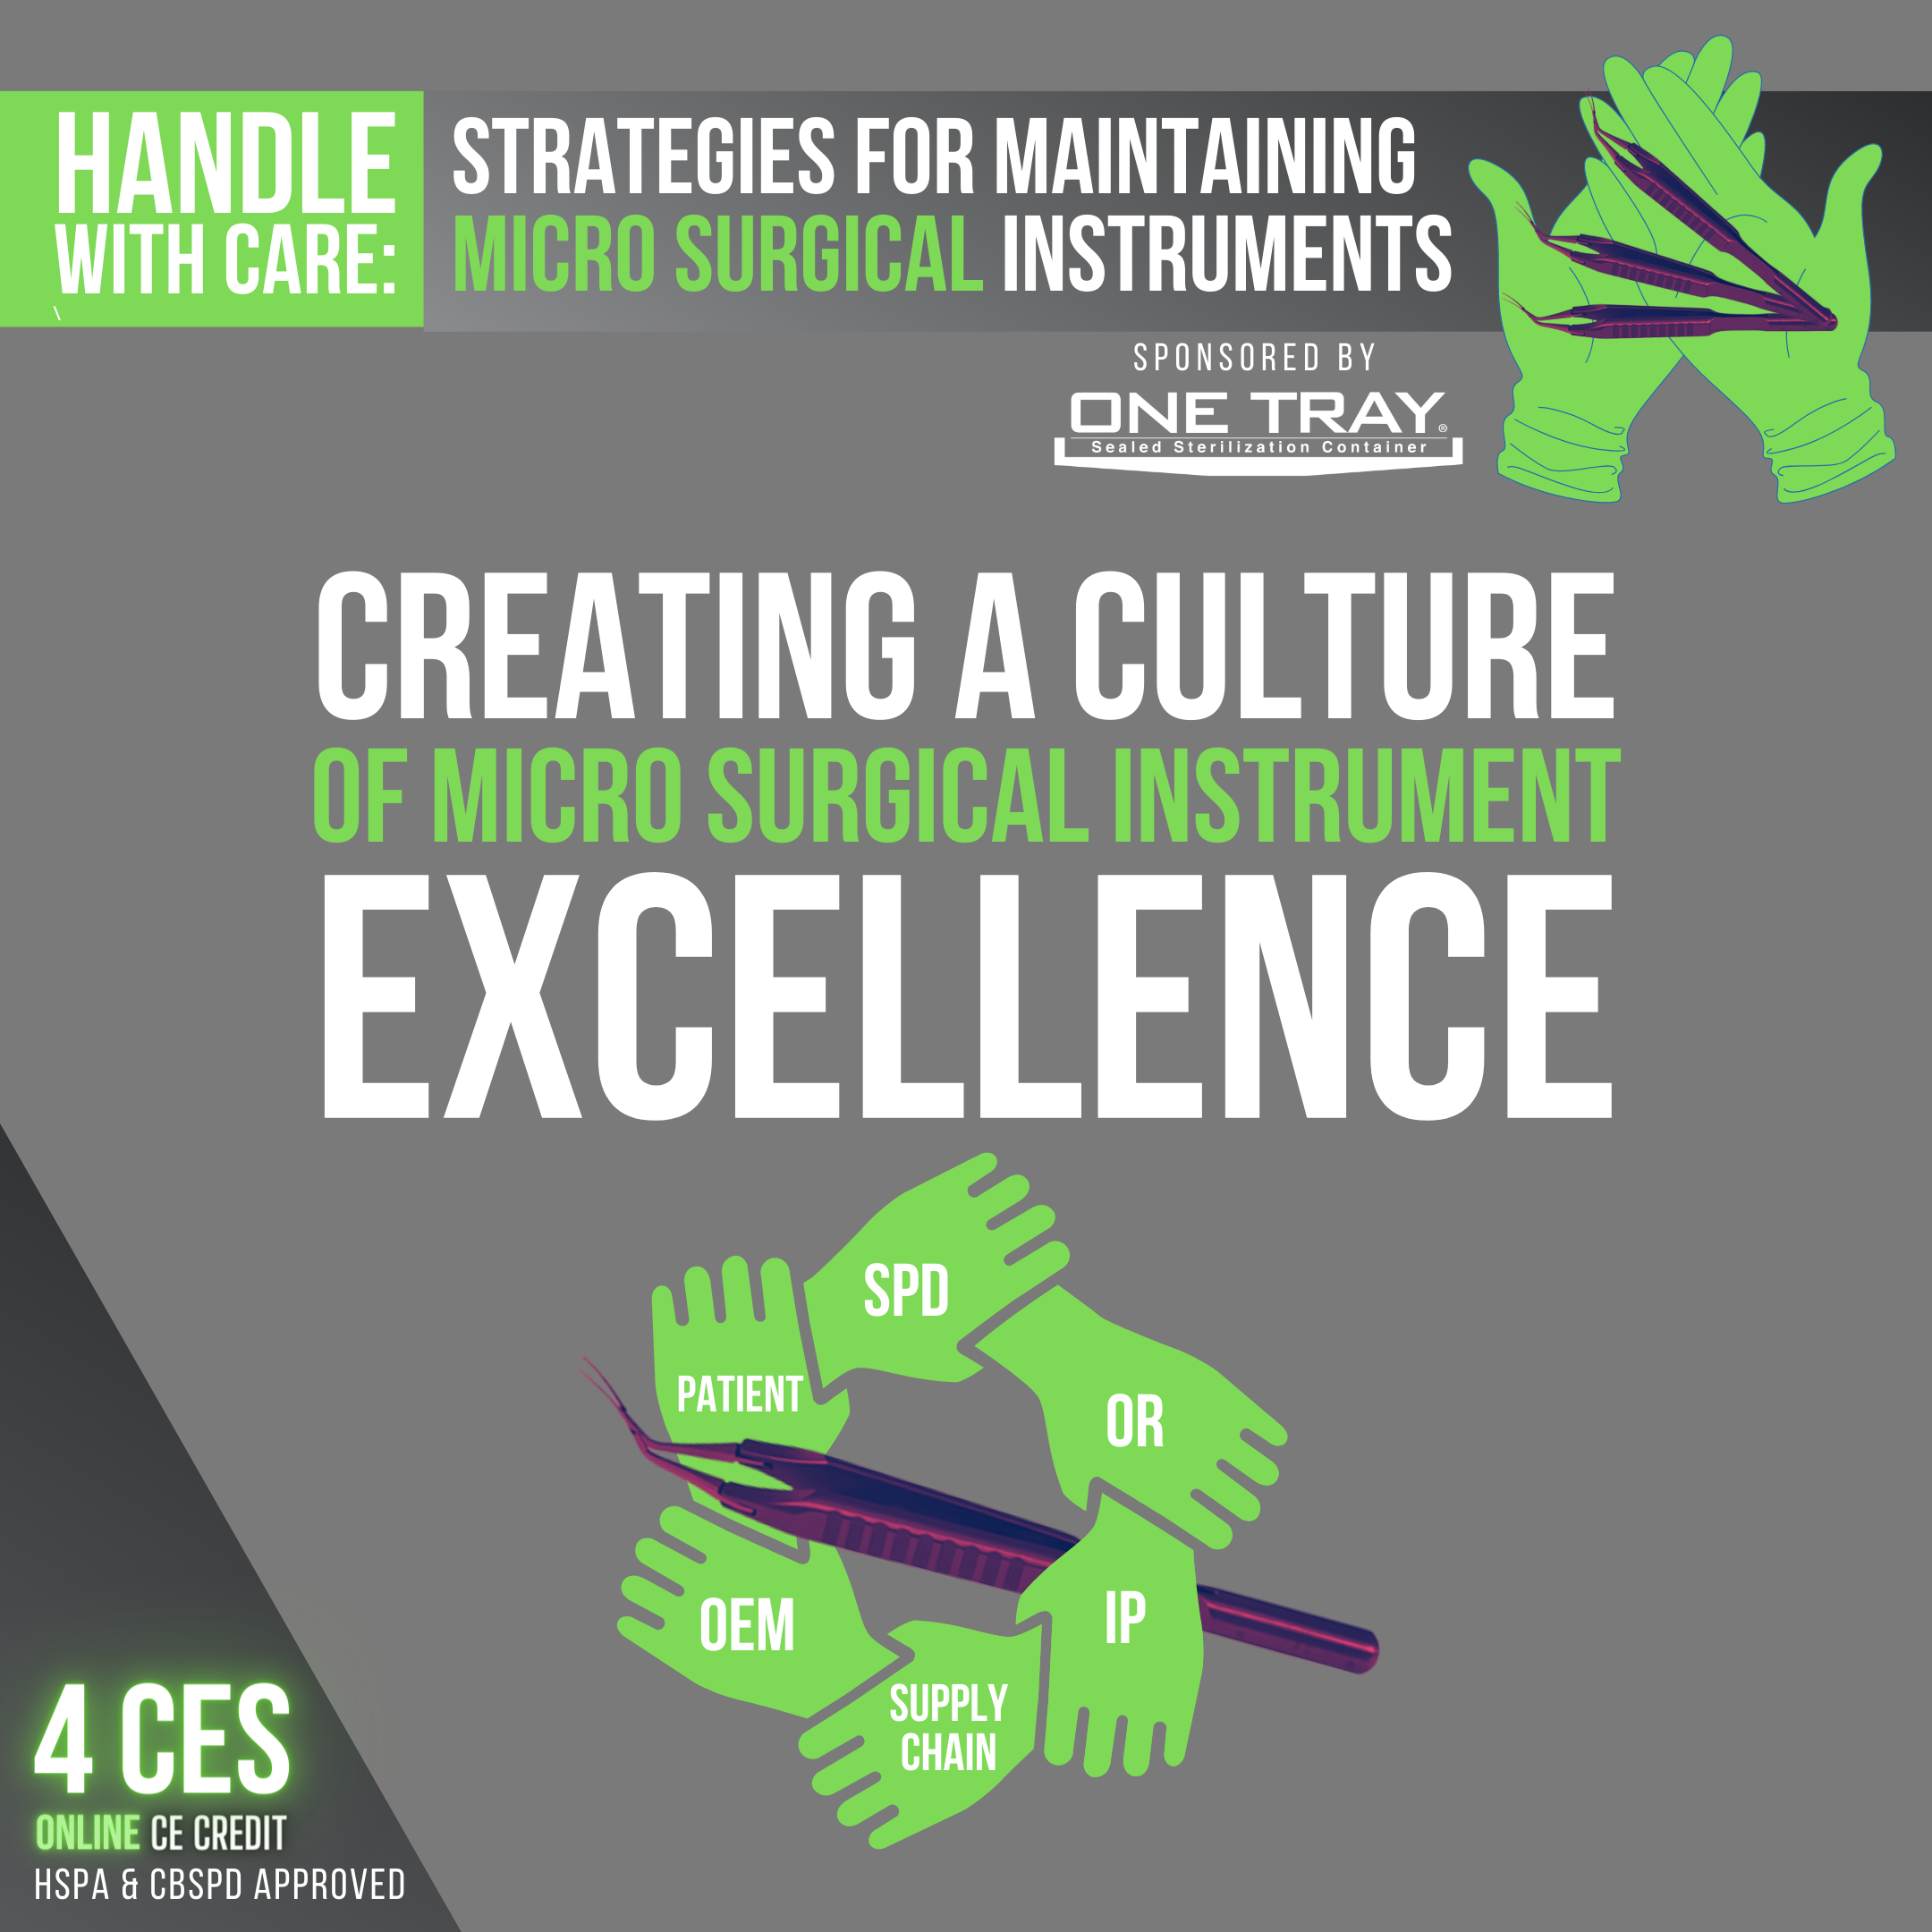
Creating a Culture of Micro Surgical Instrument Excellence
How do you take everything you have learned in this educational program and create a culture of micro surgical instrument excellence in your facility? What are the “must-haves” for breaking out of the way we’ve always done it?
The best place to begin is by setting clear goals and expectations for your reprocessing teams. Examples of this include setting specific, measurable, achievable, relevant, and time-bound (SMART) goals, as well as regularly communicating and reinforcing those goals to employees. Do you want to hit 100% functional instruments to the OR in a 3-month period? How about planning a weekly inservice of each unique, commonly used micro instrument in your inventory?
Continuous improvement is another must-have in building a culture of excellence in your Sterile Processing department. At a practical level, this means encouraging your technicians to find ways every day to take their department and processes up a notch, by committing to learn, develop, experiment, and innovate, as well as seek out and implement best practices. Many teams utilize bulletin boards in their departments to submit ideas to change processes, so that leaders & team members can consider the idea and give feedback.
Speaking of feedback, employee engagement and empowerment is also a massive part of creating a culture of excellence as well. This includes providing employees with the support, resources, and autonomy they need to succeed, as well as recognizing and rewarding their contributions to the department’s success. It also involves creating a positive and supportive work environment that fosters collaboration and teamwork. If your technicians feel heard and empowered, they are much more likely to bring up concerns and ideas to improve the process than they would if they are simply being treated as button-pushers and machines.
This also plays out in how department policies and procedures are development, hopefully in the context of multi-disciplinary support from various members of the healthcare team, such as surgeons, surgical technologists, infection preventionists, supply chain, quality & risk, sterile processing, and more.
At the end of the day, excellent micro surgical instruments start with excellent team cultures.

Wrap Up & Quiz
As you have seen through this entire series, micro surgical instrument reprocessing serves as a perfect microcosm of the kinds of challenges every Sterile Processing technician encounters on a daily basis. While there are very specific nuances at play with micro instruments, such as the risk of TASS for intraocular trays, and the delicate nature of the devices themselves, they highlight the macro-opportunities in front of our entire industry to continue hardwiring best practices and excellent cultures into our Sterile Processing teams.
We hope this program challenges you to dig in even deeper to the wonderful (though tiny) world of micro surgical instruments, to encourage your team members to pursue the highest quality instrument reprocessing as possible, and to question “the way we’ve always done it” every chance you get.
Now is a great time to take a moment to review each section of this program, and then complete the quiz to get access to your 4 CE certificate.
Thanks for learning with ONE TRAY®!
